Yes, and there is a cost that nobody selling one mentions: a guide holds the angle you cannot hold yet, and while it is doing that, you are not learning to hold it.
That is not an argument against guides. It is the trade, and knowing it is what lets you decide which side of it you want to be on.
The problem a guide is solving
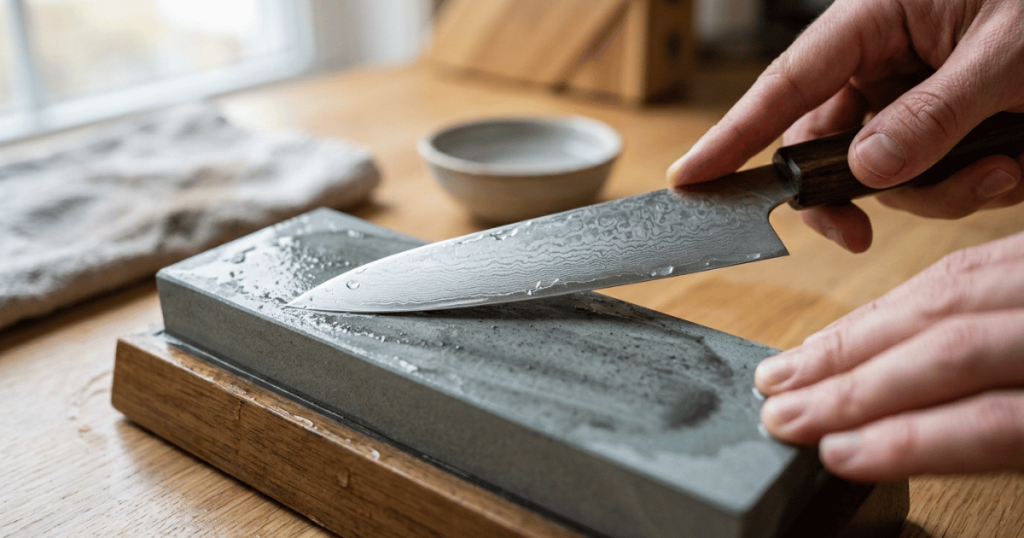
Freehand sharpening asks you to hold a blade at a consistent angle to a stone through a stroke, then reproduce that same angle on the other side, then reproduce it again on the next pass, and the one after.
Consistency matters more than accuracy. An edge sharpened consistently at a slightly wrong angle is a good edge at the wrong angle. An edge sharpened at a wandering angle is a rounded edge that will not cut whatever the average was.
That is what beginners find hard, and it is genuinely hard. It is a physical skill and it takes repetitions.
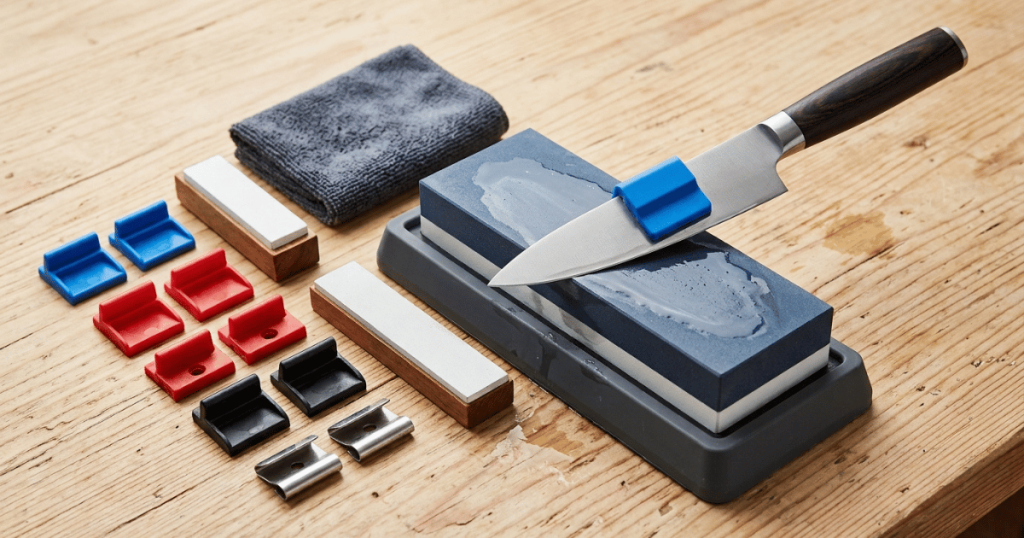
The four kinds of guide, from least to most
1. The marker, which is not a guide at all
The cheapest and most useful angle tool is a permanent marker, and most people never try it.
Color the bevel, take two or three strokes, and look. Marker gone evenly across the bevel means you are at the knife’s own angle. Gone only at the edge means you are too steep. Gone only at the top of the bevel means too shallow.
This is feedback rather than constraint: it does not hold anything for you, it tells you what you just did. It is also how you find the angle your knife already has, which is the number you should be trying to reproduce.
Use it whether or not you use anything else. It costs nothing and it turns invisible practice into visible practice.
2. Angle wedges and clips
Small pieces that sit on the spine of the blade or on the stone, giving you a physical reference at a set angle.
What they do well: give a beginner something concrete to aim at, cheaply, without taking over the stroke. You still hold the knife and still move it. They also let you check the angle mid-session rather than only afterward.
Their limits: a fixed wedge assumes the angle it was made for. Blade width varies, so the same wedge on a wide chef’s knife and a narrow paring knife does not produce the same angle at the edge. And they can shift.
Best use: as training wheels you actively intend to remove.
3. Clamped guided systems
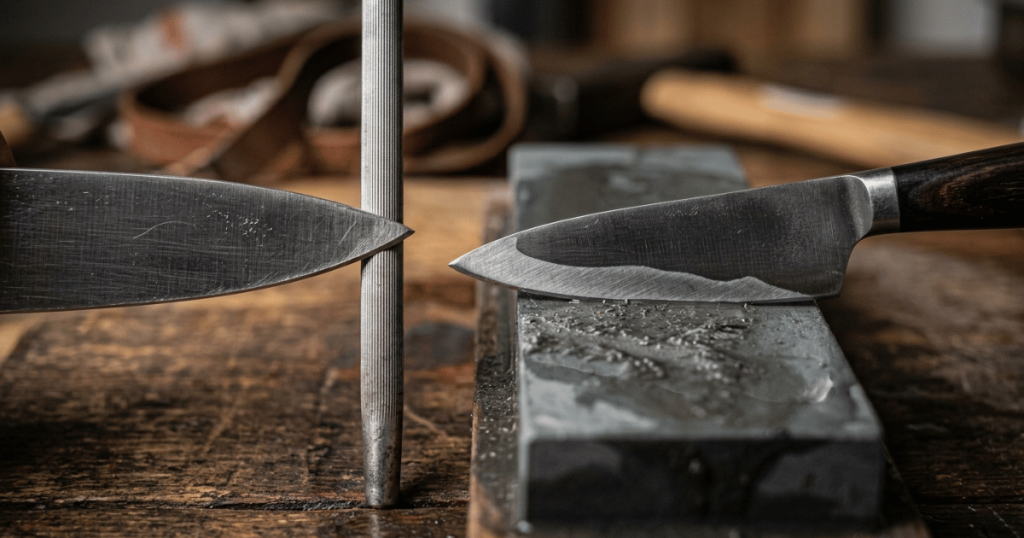
The knife is clamped in a fixture and an abrasive rod on an arm is swung across it, held at a set angle by the geometry of the system.
What they do well: produce a very consistent, very repeatable edge, with a settable angle, largely independent of skill. Genuinely excellent for reprofiling and for anyone who wants a precise result without a learning curve.
Their limits: setup takes time, so a quick touch-up becomes a project. Clamps can mark a blade. Very long, very short, very curved or very thick blades can be awkward. And the angle is measured from the clamp rather than from the edge, so on a knife whose height varies along its length the effective angle can vary too.
Best use: someone who wants a precise repeatable edge and does not want to learn freehand.
4. Rolling and bearing-based guides
A newer category, in which a fixture rolls or pivots against the stone, carrying the blade at a fixed angle.
Same trade in a different shape: high consistency, some setup, and the angle is determined by the fixture rather than by your hand.
What none of them fixes
Four things that a guide will not do for you, which matters because people buy one expecting it to.
A dished stone. If the stone is not flat, the guide holds a perfect angle against an imperfect surface. Flatten first, always.
Not reaching the edge. A consistent angle applied without going all the way to the apex produces a beautifully polished bevel and no cutting edge. The check is the burr, and it is the same check with a guide as without one.
The burr. It still forms, it still has to come off, and no guide removes it for you.
Choosing the wrong angle. A guide reproduces whatever you set it to, including a number you got from the wrong page. Find your knife’s own angle first.
The honest case against, and against that
Against guides: freehand skill is real and transferable. Learn it and you can sharpen anything, anywhere, with any stone, including a knife that will not fit a clamp. A guide keeps you dependent on the guide, and the equipment cost of a good guided system is not trivial next to a couple of stones.
Against that: plenty of people do not want a hobby. They want a sharp knife. A guide that gets someone sharpening at all is better than a purist position that leaves the drawer full of dull knives, and dull knives are what cause kitchen injuries.
The resolution that fits most people: use the marker from day one, use a simple guide if it helps you start, and periodically try a few strokes without it to see whether your hands have learned anything. Many people find that after a few sessions they have.
Where a guide is clearly right, and clearly wrong
Clearly right:
- Reprofiling. Changing an edge’s angle is a long job where consistency over many strokes is everything.
- Chip and damage repair, for the same reason.
- Anyone who sharpens rarely. Skills fade between sessions; a fixture does not.
- Someone who has tried freehand and hated it.
Clearly wrong:
- Single-bevel Japanese knives. The whole point of the geometry is that the wide bevel lies flat on the stone and sets its own angle. A guide is solving a problem the knife does not have, and clamping one is a good way to damage it.
- Quick touch-ups. By the time a clamped system is set up, freehand would have finished.
- Blades that do not fit the fixture, which includes a surprising number of real kitchen knives.
If you are starting from nothing
The order that wastes the least money:
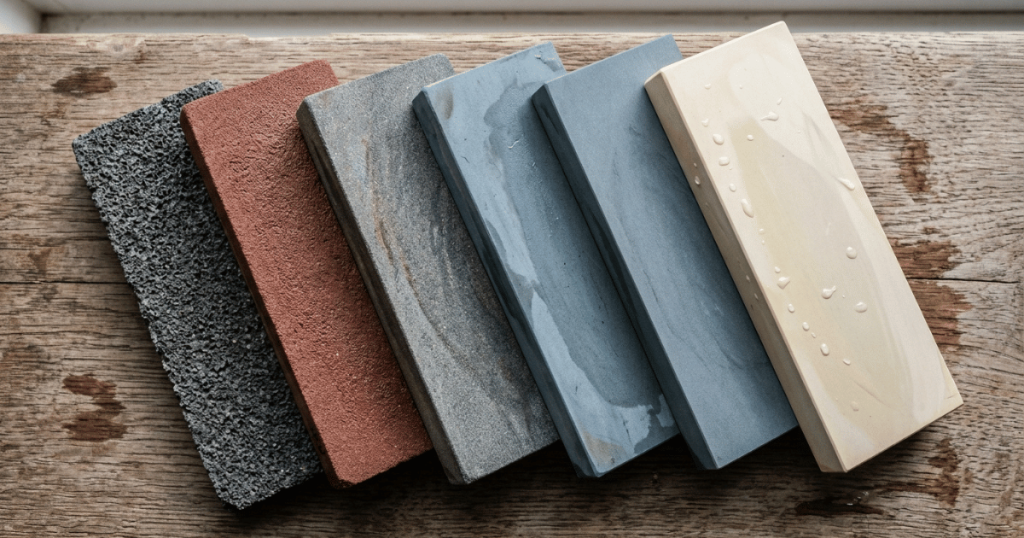
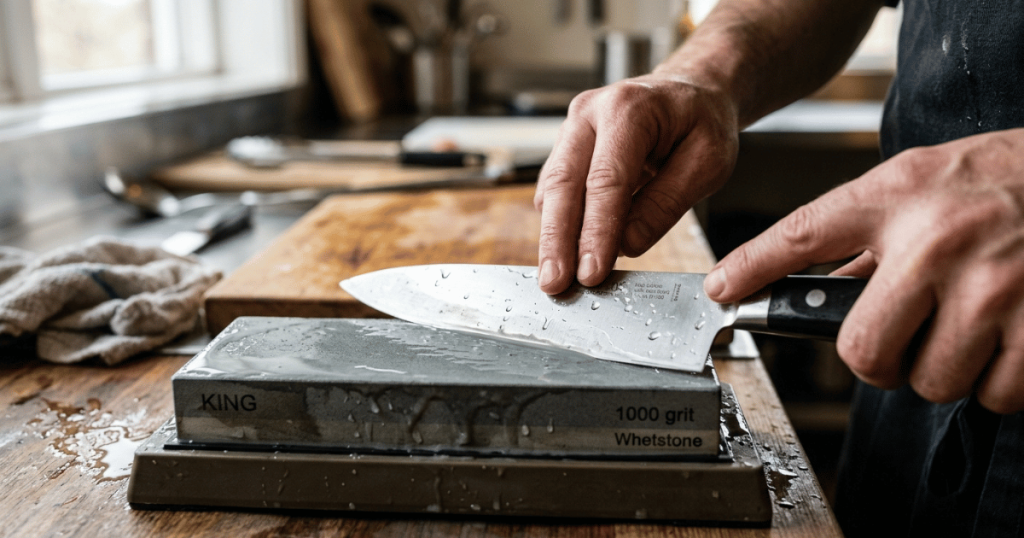
1. A flat medium and fine stone, and a permanent marker. That is a complete kit.
2. Learn on a cheap knife. Not the good one. The whole point of the first ten sessions is that they will not be good.
3. Use the marker every session and watch the pattern change.
4. Add a simple wedge if the marker keeps telling you your angle is wandering and you are getting frustrated.
5. Consider a full guided system only if you have decided you do not want to learn freehand, or if you have reprofiling and repair work to do.
The whetstone walkthrough is the procedure either way, and the method comparison covers where stones sit against everything else. For hard Japanese steel, the pressure and finishing differences apply with or without a guide.
The short version
A guide holds the angle for you, which is exactly what a beginner cannot do, and that is why it works. The cost is that you do not learn to do it yourself while it is doing it for you. Start with a marker, which costs nothing and teaches instead of substituting. Add a simple guide if your angle keeps wandering. Reach for a full guided system for reprofiling and repair, or if you have decided freehand is not for you. And keep guides away from single-bevel knives, where the bevel is already the guide.