The back of a single-bevel knife is not flat. It is very slightly hollow, and that hollow is the part an amateur destroys first. Everything difficult about sharpening these knives comes from that one piece of geometry.
Before anything else: if you are not sure whether your knife is single-bevel, find out. Look at the blade edge-on under a light. A double-bevel knife has a visible bevel on both sides meeting at the edge. A single-bevel knife has one wide bevel on one face and a back face that appears flat. If it is double-bevel, the procedure for hard Japanese double-bevel knives is the one you want and this one is not.
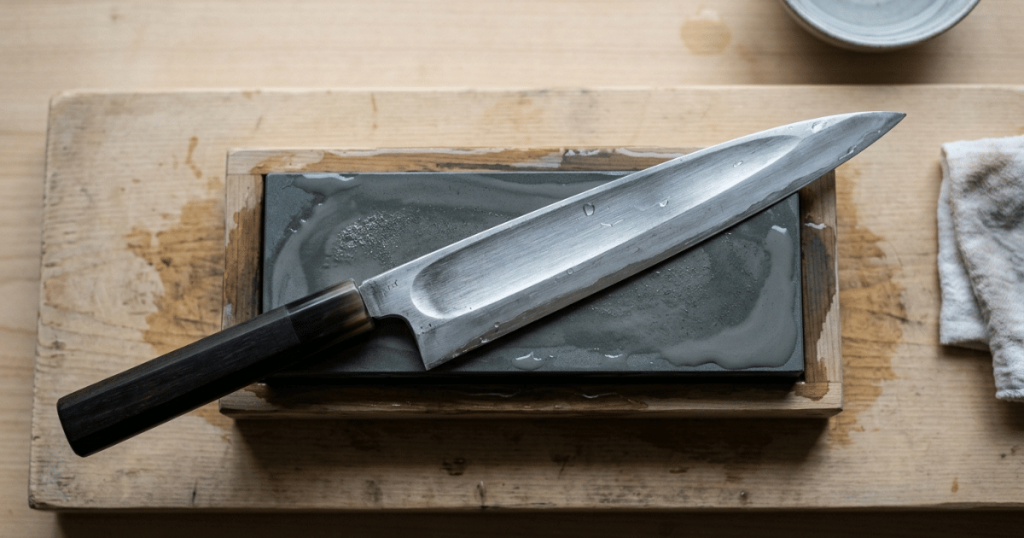
The three pieces of geometry that make this different
The bevel side
One face carries a wide bevel, running from the edge some distance up the blade. That face is where nearly all the sharpening happens.
The bevel is usually not a single flat plane. It commonly has a shallower area higher up and a steeper microbevel right at the edge, and the relationship between those is part of how the knife was made.
The back, and the urasuki
The other face looks flat and is not. It has a shallow concave hollow ground into it, called the urasuki, surrounded by a narrow flat rim at the edge and along the spine called the uraoshi.
The hollow exists so that only that narrow rim contacts the stone. That is what makes the back trivially quick to work: you are only ever touching a thin strip, not a whole face.
And it is finite. Every time the back is worked, the flat rim gets a fraction wider. Over the life of the knife, sharpening the bevel side pushes the edge back into the hollow, and the rim widens naturally. If someone grinds the back enthusiastically, the hollow disappears, the rim becomes the whole face, and the knife’s geometry is gone. That cannot be repaired at home and is expensive to have corrected.
Handedness
Single-bevel knives are made right-handed or left-handed, and they are not interchangeable. A right-handed knife has its bevel on the right face when the edge is away from you and the handle toward you.
Using the wrong-handed knife is awkward. Sharpening one as though it were the other hand is a way to ruin it.
Before you start
A flat stone. This matters more here than on a double-bevel knife, because you are laying a wide flat bevel onto the stone and a dished stone will not contact it evenly. Flatten before you begin.
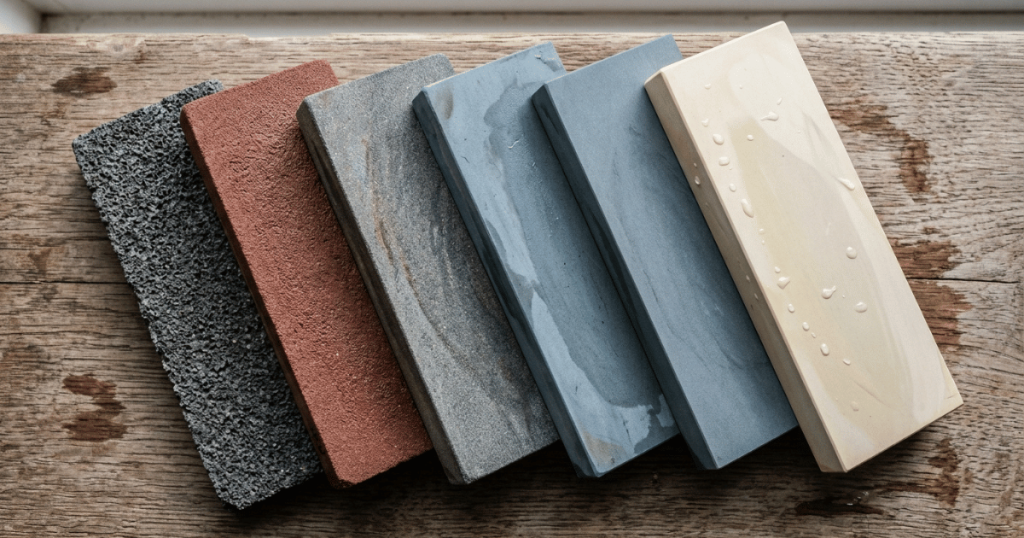
The stones you need. A medium stone for the work and a fine stone for finishing, at minimum. A coarse stone only if there is damage. Which grit does what covers the reasoning.
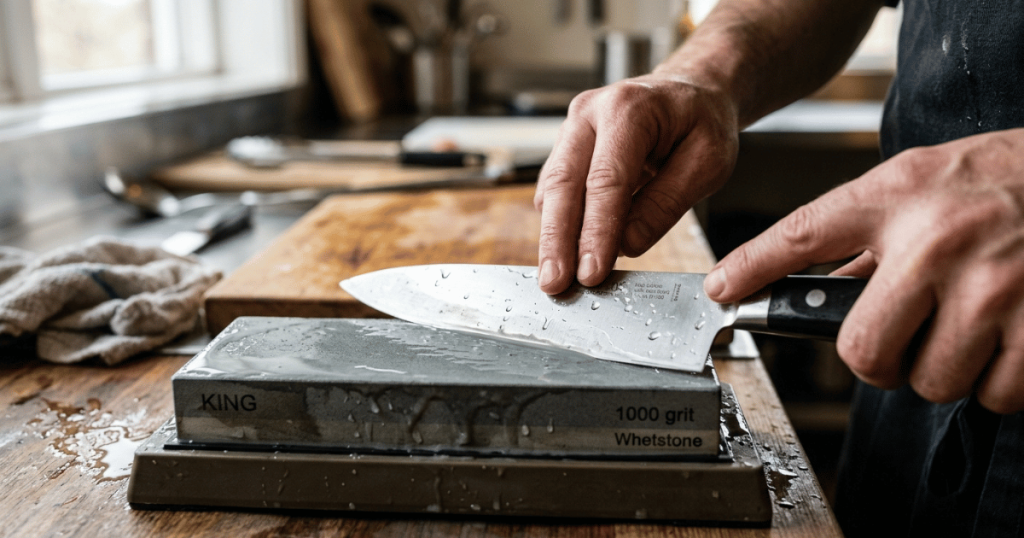
The stone held still. Holder, non-slip mat or damp towel. A stone that moves under a blade is how people get hurt.
Marker on the bevel. Color the whole bevel with a permanent marker before your first strokes. Where the marker comes off is where you are actually making contact, and on a wide single bevel that feedback is essential rather than optional.
The procedure: the bevel side
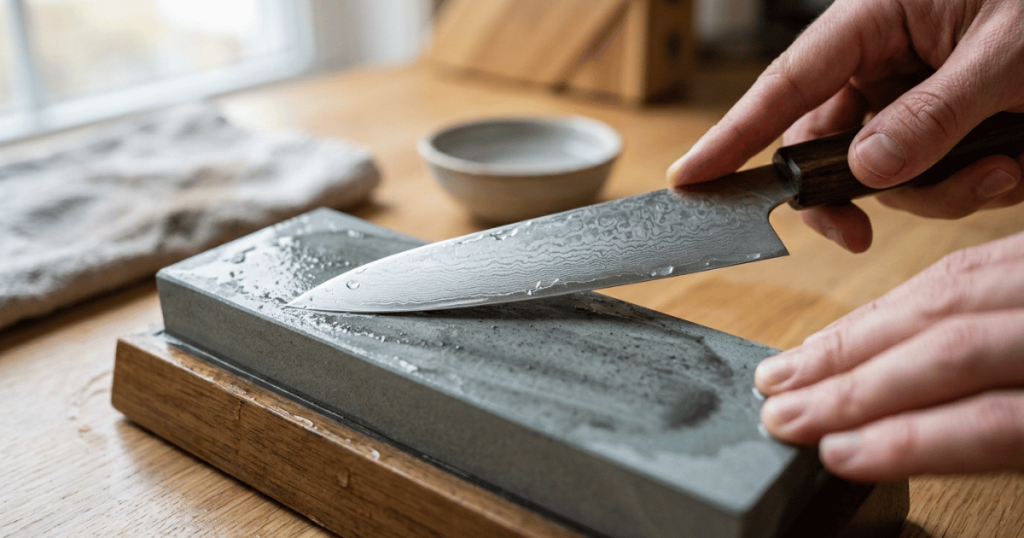
1. Lay the whole bevel flat on the stone. This is the instruction that distinguishes single-bevel sharpening from everything else. You are not holding an angle in the air. The bevel is the angle. Put it down on the stone so it sits flush, and the geometry is set for you.
2. Confirm it with the marker. Two or three light strokes, then look. Marker removed evenly across the bevel means you are flush. Marker gone only near the edge means you are holding the spine too high. Marker gone only high on the bevel means the spine is too low.
Correct that before doing anything else. Continuing while tilted is what turns a factory bevel into a rounded one.
3. Work in sections. A yanagiba is long, and the stone is not. Work a hand’s width at a time, moving along the blade in overlapping sections, so each part gets equal attention.
4. Stroke direction and hands. The knife lies across the stone with the edge facing away from you or across it, depending on the section you are working. Your dominant hand holds the handle, your other hand’s fingertips rest on the flat of the blade above the bevel, applying gentle pressure, and they stay above the bevel and never in front of the edge.
Move the blade along the stone with the fingertips guiding pressure. Keep the pressure light. Hard Japanese steel does not want force, it wants contact and patience.
5. Work until a burr appears on the back. Check by feeling across the edge, from the spine down toward the edge, on the back face. Never along it. When you feel a small lip along the whole length of the section you are working, that section is done.
6. Move along and repeat until the burr runs the entire length of the edge, tip included. The tip is the part people miss.
The procedure: the back, and this is the delicate part
You are removing the burr, not sharpening the back. Hold that sentence in mind for the whole of this stage.
1. Lay the back completely flat on the stone. Absolutely flat, with no lift at the spine at all. Any lift and you are grinding the hollow away.
2. A very small number of very light strokes. The lightest pressure you can apply while keeping the blade in contact.
3. Check the burr. Feel across the edge on the bevel side. Repeat only if it is still clearly there.
4. Stop. This is the instruction the whole article exists for. Do not work the back until it looks clean, do not polish it, and do not fix scratches on it. The rim at the edge widening slightly over years is the normal life of the knife. The rim widening in one session is damage.
Do not use a coarse stone on the back, ever.
Finishing
Move to the fine stone and repeat the bevel side with lighter pressure, then the same minimal treatment on the back. Alternate a few times, progressively lighter, until the burr detaches.
The general whetstone sequence applies here, with the difference that on this knife the bevel side does the work and the back only ever gets the lightest touch.
Where this goes wrong
Grinding the back. Already covered, and it is the failure that matters most.
Lifting the spine on the bevel side. Produces a rounded bevel that no longer sits flat on a stone, at which point every future sharpening is harder. The marker catches this in ten seconds.
Using a pull-through or an electric sharpener. Both work on both sides equally. On a single-bevel knife that is not a suboptimal result, it is destruction of the geometry in one pass. The method comparison puts this at the top of its exclusion list for a reason.
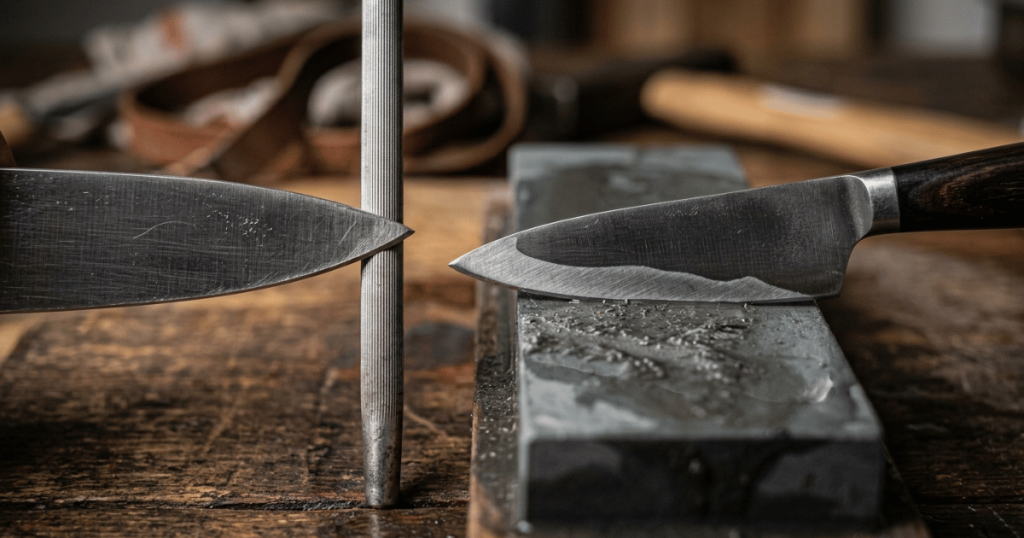
Using a honing steel. Makers do not agree about steels on Japanese knives generally: some sell an angle-matched rod for their own product, and at least one well-known Japanese retailer tells customers not to use a sharpening steel on a Japanese knife at all. On a single-bevel knife specifically, a generic grooved steel used freehand has nothing to align against. Do not.
Ignoring the tip. A yanagiba’s tip does a lot of the cutting and is the easiest part to under-work.
Where you stop, and when to hand it over
Take it to a professional if:
- The back has already been ground and the hollow is reduced or gone. Restoring an urasuki is specialist work.
- The bevel is visibly rounded and will not sit flat on a stone.
- There is a chip. Chip repair on a single-bevel knife means reshaping a wide bevel, which is a long job with a real chance of making it worse.
- You do not know which hand the knife is.
- It is an expensive knife and this is your first one. Practicing on a cheap double-bevel knife first is genuinely the right call.
Safety, throughout: the stone stays still on a mat or in a holder; the free hand stays on the flat of the blade above the bevel and never in front of the edge; check for a burr across the edge and never along it; keep the work area clear and dry your hands; and stop when you are tired, because these knives are long, hard and thin, and tired hands are where the accidents are.
The short version
Confirm the knife really is single-bevel and find out which hand it is. Flatten your stone. Mark the bevel and lay it flush on the stone rather than holding an angle, correcting until the marker comes off evenly. Work section by section with light pressure until a burr runs the whole edge. Then lay the back perfectly flat and give it the fewest, lightest strokes that remove the burr, and stop, because the hollow on that back is finite and grinding it out is the one mistake that cannot be undone at home.