There is no way to put the missing piece back. Repairing a chip means grinding the entire edge down until it is level with the deepest point of the chip. That sentence is the whole subject, and it is the thing most repair guides bury under the procedure.
Once you have accepted it, the decision becomes clear: how deep is the chip, how much blade are you prepared to lose, and is this knife worth that.
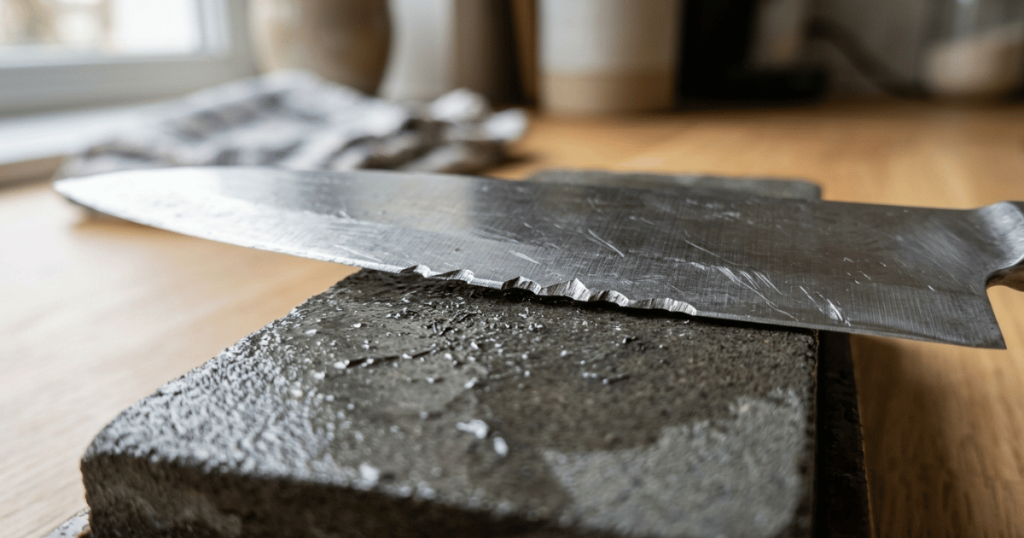
First, look at it properly
Hold the knife with the edge pointing up under a bright light and look straight down the edge from above. Chips catch the light as bright dots or notches. A dull edge shows a continuous fine line; a chip shows a distinct interruption.
Three things to establish:
How deep. Not how wide. Depth measured from the current edge line up into the blade is what determines how much steel has to come off everywhere else.
How many. One chip is a repair. A row of small chips along a section usually means the whole section is damaged and the repair is longer.
Where. A chip in the middle of the blade is the straightforward case. A chip at the tip is a different job, and a chip right at the heel is often left alone because you rarely cut with the last half inch.
The arithmetic nobody states
Here is why the depth matters so much.
A blade is a wedge. It is thin at the edge and gets thicker toward the spine. To remove a chip you have to grind the edge back to the depth of the chip, and at that new depth the blade is thicker than it was. So you are not just shortening the blade height, you are also having to thin the new edge to get it cutting again.
That means the work is not proportional to the chip. A chip twice as deep is more than twice the work, because you have more steel to remove at the edge and more thinning to do behind it.
And the removed steel never comes back. A knife that has had two deep chips ground out is measurably shorter in height than it was, and it will feel different against a board.
When to just leave it
This option is missing from most repair guides and it is often the right one.
A very small chip will disappear on its own over the next few sharpenings, because ordinary sharpening removes a little steel each time and the edge migrates upward anyway. If the chip is shallow enough that it does not interfere with cutting, doing nothing is a valid plan.
A chip near the heel where you rarely cut is a cosmetic problem.
The test: does it catch on what you are cutting, or leave a strand uncut every stroke? If not, put the knife back in service and let normal sharpening handle it.
When to hand it over
Four situations where the honest answer is a professional, and one where it is the bin.
A deep chip on a knife you care about. The repair changes the blade profile, and keeping the profile right through a big removal is skilled work. On an expensive knife, professional repair is cheap relative to the knife.
Any chip on a single-bevel Japanese knife. Repairing one means reshaping a wide bevel while preserving the hollow on the back, and it is easy to make the knife worse. Send it out.
Multiple deep chips, or a section that has crumbled. Often a sign of a steel or heat-treatment problem, or of the knife having met something it should not have. Worth a professional opinion before you invest hours.
A chip in a serrated blade. Different geometry, different job.
And the bin case: a cheap knife with a deep chip. The repair is hours of work and a visibly smaller knife. Replacing it is the rational answer, however unromantic.
The repair, for a chip you have decided to take out yourself
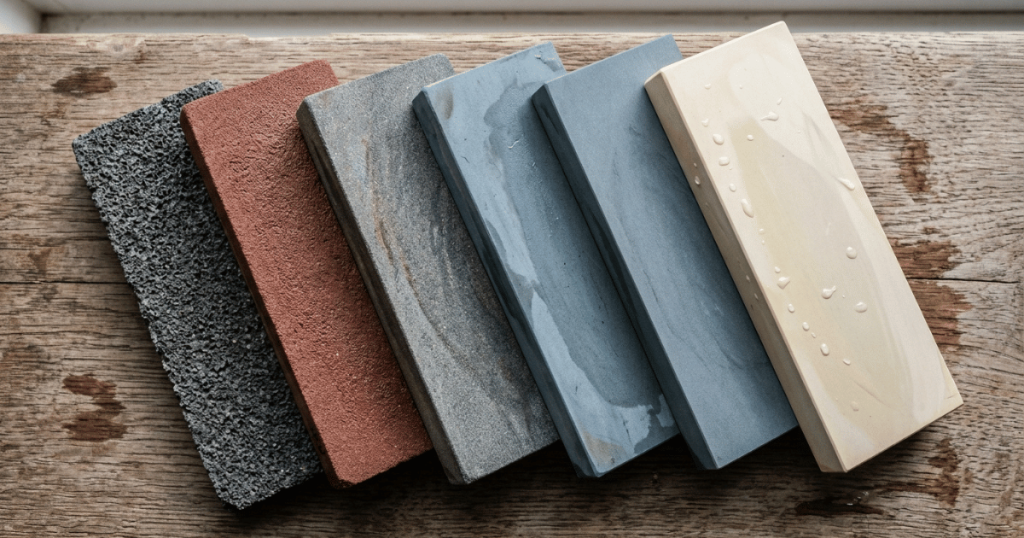
You need a coarse stone. Not your usual medium stone: taking out a chip on a medium stone takes so long that people give up, get impatient and start pressing, which is where the accidents are. Which grit does what covers where the coarse boundary sits.
Set up first. Flatten the coarse stone. Put it in a holder or on a non-slip mat. Have water and a cloth. Clear the bench.
Stage 1: Take the chip out by grinding straight into the stone
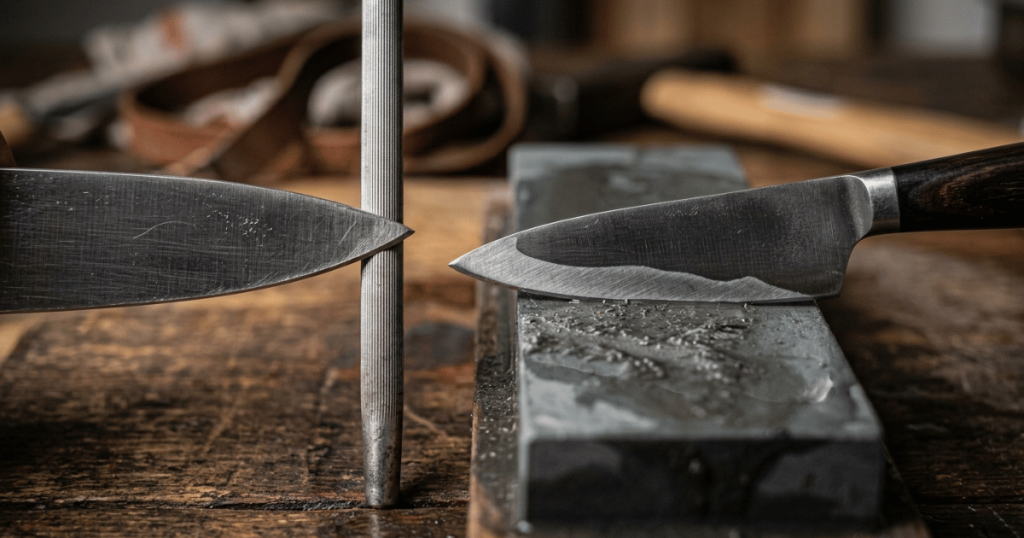
This is the counterintuitive part and it is the fast way. Hold the knife with the edge perpendicular to the stone, spine straight up, as if you were going to cut into the stone. Draw the edge along the stone in that position, moving the whole length of the blade.
You are deliberately flattening the edge. You are creating a flat strip along the top of the edge where there used to be an apex, and you keep going until the flat strip is as deep as the bottom of the chip, all the way along the affected section.
Check by looking down the edge. When the notch has disappeared into the flat, stage one is finished. Stop there and not later.
Blend the flat into the rest of the blade. Do not create a sudden step. Work slightly beyond the chip in both directions so the flat tapers out.
Stage 2: Grind new bevels down to the new edge
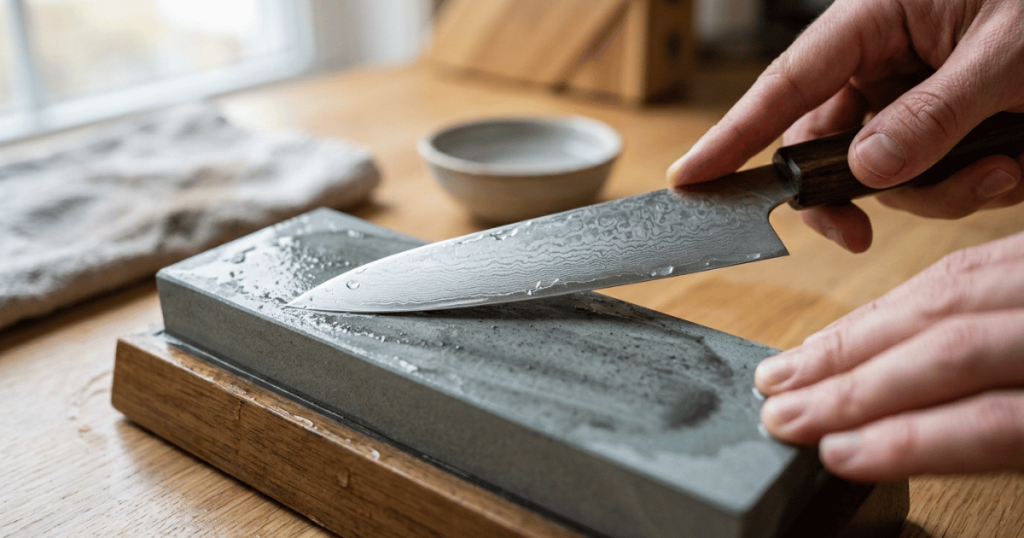
Now you sharpen normally, on the coarse stone, at the knife’s own angle, on both sides, until the flat strip disappears and the two bevels meet again at a new apex.
This is where the time goes, because you are removing every bit of steel between the old bevel and the new edge line.
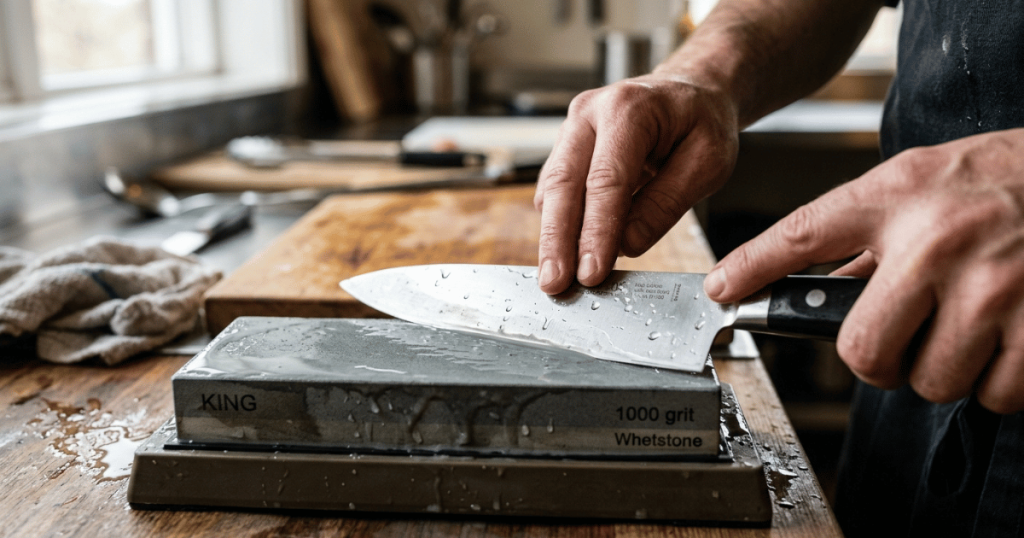
Both hands as normal for stone work: dominant hand on the handle, other hand’s fingertips on the flat of the blade behind the edge, never in front of it. Even pressure, full length of the blade, and check with a marker on the bevel if you are unsure whether you are reaching the edge.
Work until you feel a burr along the whole section, checking by feeling across the edge from spine toward edge, never along it.
Stage 3: Back to the normal sequence
Medium stone, then fine stone, then remove the burr, exactly as you would for any sharpening. The standard whetstone walkthrough is the sequence from here on.
Two things that will make the repair worse
Heat. Grinding generates heat, and heat changes steel. This is the real argument against fixing a chip on a bench grinder or an angle grinder, which people do and which ruins knives: a blade that gets hot at the edge loses its hardness there permanently, and no amount of subsequent sharpening restores it. Keep the stone wet, work in short sessions, and if the blade is warm to the touch, stop and let it cool. On a whetstone with water this is manageable. On a powered grinder it is not.
Pressing harder because it is slow. It is slow. Chip repair on a coarse stone is a genuinely tedious job and everybody underestimates it. Pressing does not speed it up meaningfully and it does make the stone dish and your control worse.
Preventing the next one
Chips have causes, and the causes are short:
- Bone, frozen food and hard squash with a thin knife. Different knives exist for those jobs.
- Twisting or prying mid-cut. Lateral force is what breaks thin hard edges.
- Hard boards. Glass, stone and ceramic surfaces chip edges rather than dulling them.
- Loose storage. Blades knocking against other steel in a drawer.
- The wrong sharpener. Carbide slots and aggressive powered sharpeners chip hard steel.
Hard Japanese steel chips where softer Western steel bends, which is the trade that comes with the edge retention. The procedure for those knives explains what changes, and the method pillar covers which tools are safe for which steel.
Where you stop
- No powered grinder. Heat destroys the temper and it is not recoverable.
- The stone stays still. Holder or non-slip mat, always.
- Check for a burr across the edge, never along it.
- Stop when tired. This job is long and repetitive, and tired hands on a coarse stone is the injury pattern.
- Stop if the blade gets warm.
- Send out single-bevel knives, serrated knives, and anything expensive with a deep chip.
The short version
You cannot replace the missing metal, so the repair is grinding the whole edge down to the bottom of the chip and then rebuilding the bevels. Decide first whether to do it at all: a shallow chip disappears through normal sharpening, a chip near the heel is cosmetic, and a deep chip on a cheap knife is not worth the hours. If you go ahead, use a coarse stone, grind the edge flat until the notch is gone, blend it out, then rebuild both bevels down to a new apex and finish as normal. Keep it wet, keep it cool, and never take it to a powered grinder.