You finished on the stone, the knife shaved paper, and the first thing you cut on the board was a disappointment. That is the burr, and it is the single most common reason a sharpening session that felt successful was not.
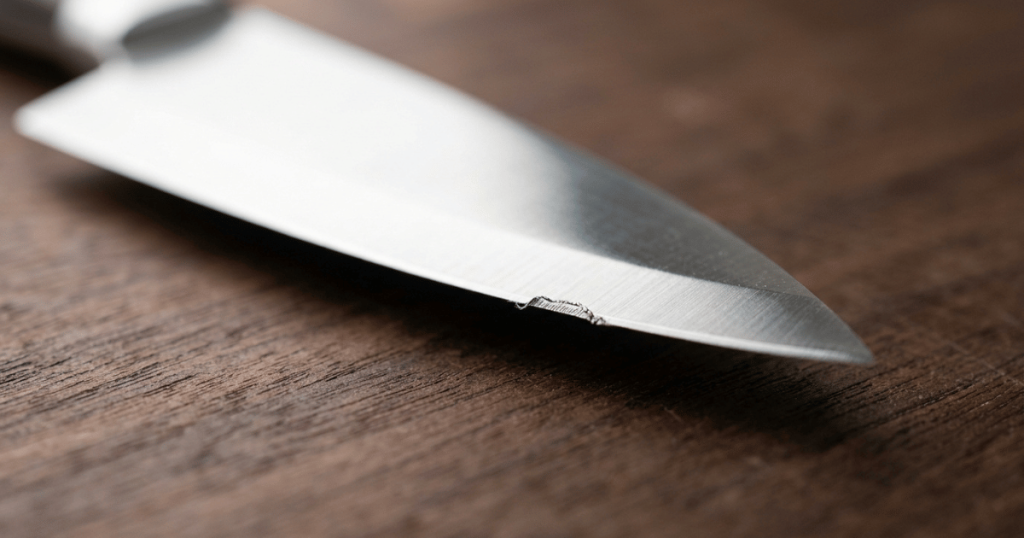
What a burr actually is
When you grind one side of a blade, you are removing steel until that side’s bevel meets the other side. At the moment the two meet, there is nothing left to support the last sliver of metal at the very edge, so instead of being ground away it folds over to the opposite side.
That folded sliver is the burr. It runs along the edge, it is thinner than anything else on the knife, and it is attached along its whole length.
Two things about it are worth holding onto.
A burr is good news while you are sharpening. Its appearance is the proof that you have ground all the way to the edge on that side. Without it, you have been polishing a bevel that never reached the apex, which is the other common way a sharpening session fails. Finding the burr is the signal to stop working that side and start the other.
A burr is bad news once you are finished. It is too thin and too weak to cut anything. On the first contact with a board it folds the other way, or breaks off unevenly, and what you are left with is a ragged edge that feels sharp on paper and does nothing on an onion.
How to find it
Feel across the edge, never along it. This is not a stylistic preference. A finger drawn along a fresh edge is a cut finger, and it tells you less than the correct method.
Lay the knife flat on the bench with the edge pointing away from you. Put the pad of your thumb on the flat of the blade and draw it from the spine down toward the edge, perpendicular to the edge, stopping as you reach it.
A burr feels like a tiny lip, a catch, a fingernail-like ledge right at the edge. It will be on the side opposite the one you have been grinding.
Do this at three places along the blade: near the heel, in the middle, and near the tip. A burr that is present in the middle and absent at the tip means you have not finished the tip, which is the most commonly under-sharpened part of any knife.
You can also look for it: hold the edge up under a light and look straight down. A burr often catches the light as a fine bright line running along the edge.
Getting it off
Two approaches, and they are usually used together.
Alternating light passes on the stone
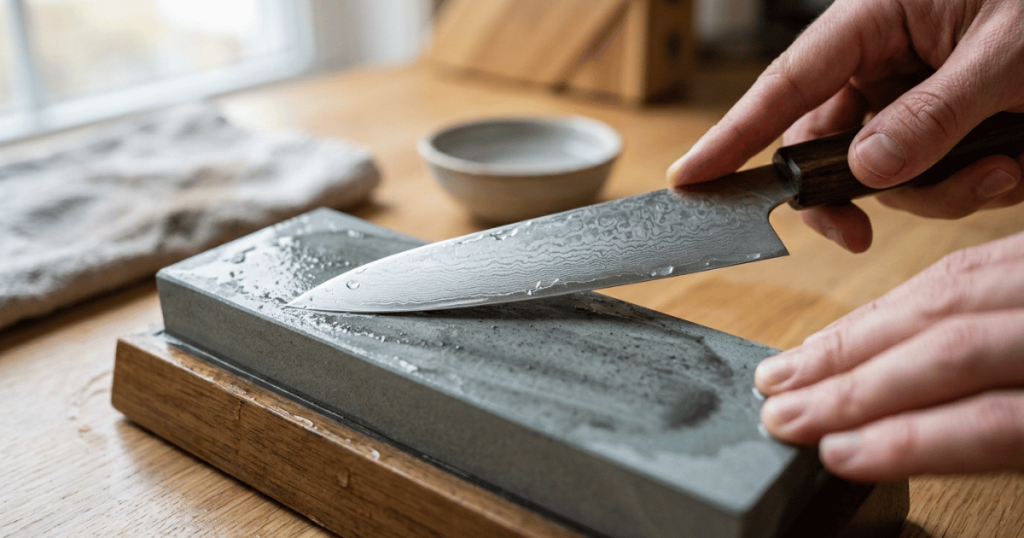
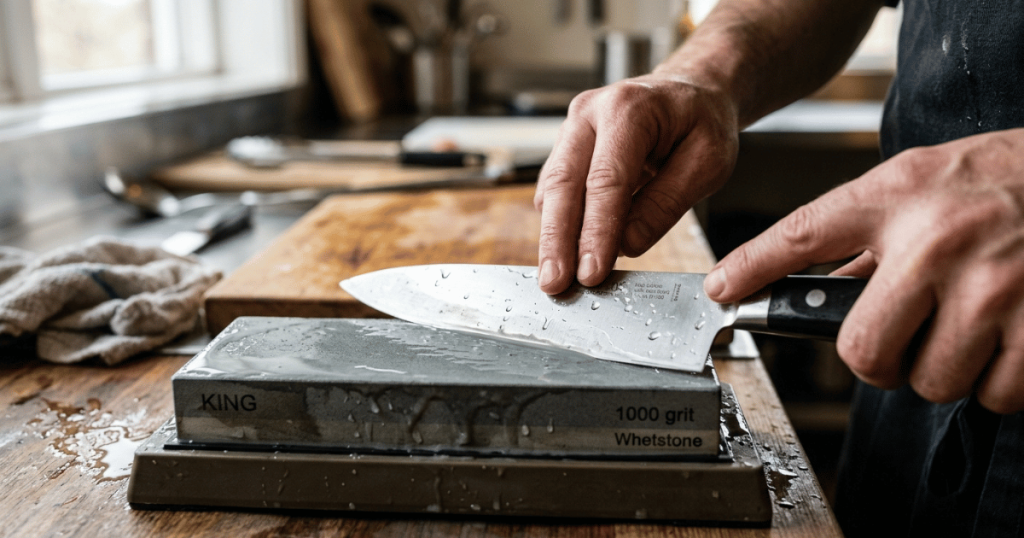
The first stage, done on your finest stone, and the principle is fewer, lighter, alternating strokes. One pass on one side, one on the other, one on the first, with the weight of the blade and very little more.
What you are doing is weakening the burr’s attachment and flipping it back and forth until it detaches, while the light pressure stops you creating a new one. Heavy passes at this stage just build the burr on the other side, which is the loop people get stuck in.
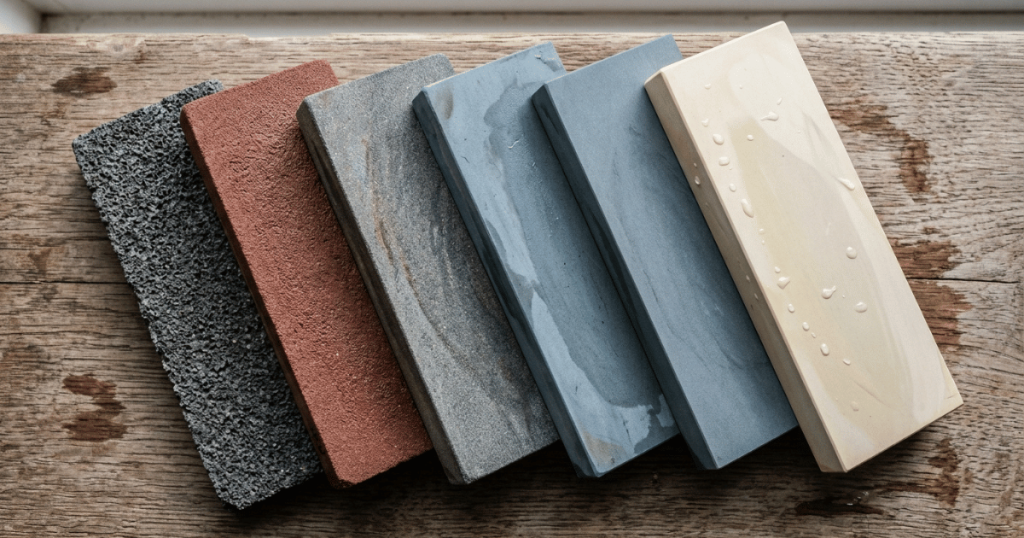
The stone matters: this is finishing work and it belongs on your fine stone, not the one you shaped on. Which grit does what covers where the boundary is, and the whetstone walkthrough shows where in the sequence this stage sits.
Stropping
The finishing stage, and the one this article is named for.
A strop is a flexible or semi-flexible surface, traditionally leather, sometimes canvas, sometimes leather glued to a wooden paddle. It may be bare or charged with a fine abrasive compound. Drawn across it, the edge is aligned and any remaining burr is removed without meaningful grinding.
The critical instruction, and it is the opposite of every other sharpening motion:
You strop edge-trailing. The spine leads and the edge follows.
Lay the blade on the strop with the edge pointing back toward you and the spine pointing away. Push the knife away from you, spine first, so the edge drags behind. Lift, bring it back through the air, and repeat. Then turn the knife over and do the same number on the other side.
If you pull it toward you edge-first, you will cut the strop and ruin the edge you just made. There is no variant of stropping in which the edge leads. This is the one instruction to get right, and it is the one that unfollowable web instructions most often garble.
Stropping details that matter
Keep the angle low and constant. Roughly the angle of the bevel, no more. Leather compresses under the blade and wraps slightly around the edge, so lifting the spine higher than the bevel rounds the apex over. That is the main way stropping is done badly: too steep, and the edge gets softer rather than cleaner.
Light pressure. The weight of the knife.
Full length of the blade per stroke, heel to tip, so the tip gets the same treatment as the middle.
Equal counts per side, alternating. A handful each way is usually plenty. Stop when the burr can no longer be felt and the edge cuts cleanly. More strokes past that point start rounding the apex.
The strop must be flat and supported. A hanging leather strop is a different tool with a different technique. A bench strop is a strop glued to a rigid backing and it is the easier one to learn on.
Compound, or no compound
Bare leather aligns the edge and takes off a weakened burr. Leather charged with a fine abrasive compound also polishes, removing a very small amount of steel.
Both are legitimate and the choice is not important enough to agonize over. What matters more:
- Keep one compound per strop, or use separate strops per compound. Mixing a coarse compound into a fine strop makes the fine strop coarse permanently.
- Follow the compound maker’s own instructions for applying it. They differ by product.
- A charged strop is not a substitute for a stone. It cannot fix a dull edge, only finish a fresh one.
Improvised strops, honestly
People strop on the back of a leather belt, on cardboard, on newspaper over a flat surface, on the unglazed foot of a mug. These work in the sense that a fine flat surface drawn edge-trailing does remove a burr.
The caveats are real. A belt held in the hand is not flat and is not stable, and holding a sharp blade against a strap you are also holding is the arrangement that produces the injuries in this subject. If you improvise, put the material on the bench, flat, and leave both ends of it alone.
Stropping is not honing, and neither is sharpening
Three activities that get run together in most kitchens.
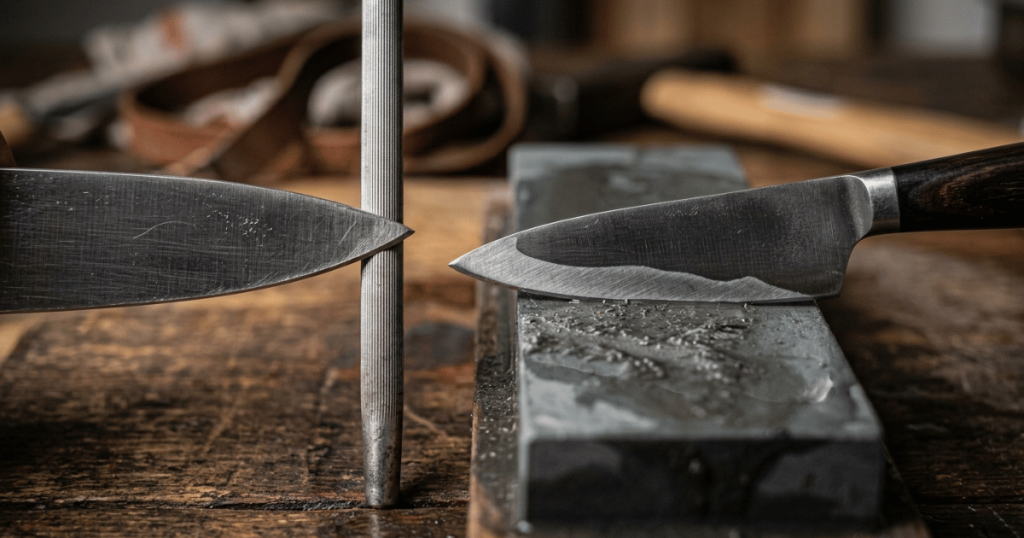
Sharpening grinds new steel to make an edge. Stropping finishes that edge and removes the burr, at the end of a sharpening session. Honing on a rod straightens an edge that has bent over during ordinary use, days or weeks later.
The difference between honing and sharpening is worth having straight, because stropping sits at the end of one and honing sits between them.
And a note for hard steels: a burr on a hard Japanese blade behaves differently. It is more brittle, so it tends to break off in pieces rather than fold cleanly, which can leave micro-chips along the edge if it is forced off. Lighter alternating passes and a strop are the gentler route. The procedure for those knives covers what else changes.
Where you stop
- Never run a finger along the edge. Across, from spine to edge, or use paper.
- Never strop edge-leading. Spine leads, always.
- The strop stays on the bench. Do not hold both the strop and the knife.
- Stop when the burr is gone. Extra strokes at a lifted angle undo the work.
- If you find chips rather than a burr, that is a repair job on a coarser stone, not a stropping problem.
The short version
A burr is a folded sliver of steel that proves you ground all the way to the edge, and it must come off before the knife will cut. Find it by feeling across the edge from spine to edge at the heel, the middle and the tip. Remove it with light alternating passes on your fine stone, then strop: blade flat, low constant angle, spine leading, edge trailing, equal strokes each side, stopping the moment the burr is gone.