A sharp knife starts cutting where you put it. A dull knife slides first, then bites. That one sentence is most of the answer, and everything below is a way of turning it into something you can check on purpose rather than notice by accident.
The reason this question gets asked at all is that dullness arrives gradually. Nobody notices the day their knife stopped being sharp, because every day it was very slightly worse than the day before. So you end up compensating with pressure, and pressure is exactly what makes a knife dangerous.
Safety first, because two of these tests involve a moving edge
Everything below is done with the knife held still or moving away from you, on a stable surface, with your free hand behind the edge and never in front of it. If a test asks you to feel the edge, you feel it across the edge, never along it.
Do not test an edge by running a fingertip down its length. It is the most common way people cut themselves in this whole subject, it tells you less than any test below, and a knife sharp enough to pass will open your finger before you feel it.
Test 1: The paper test
What it tells you: whether the edge is continuous, and roughly how keen it is. This is the most informative test for the least effort, which is why it goes first.
Hold a sheet of ordinary printer paper by one top corner, letting it hang. Take the knife in your other hand, place the heel of the blade at the top edge of the paper, and slice downward and away from yourself in one motion, moving the blade through the paper from heel to tip.
Both hands are above and outside the cut. The paper is between them. Nothing you are holding is in the blade’s path.
Read the result along the whole length, not at one point:
- A clean, quiet cut the entire length means a good edge from heel to tip.
- A cut that starts clean and then tears or catches means part of the edge is dull, and the part is where it caught. Sharpening the whole blade is what fixes that, not sharpening harder at the middle.
- The paper folds instead of cutting means dull.
- A tearing noise the whole way means dull.
The version of this test worth doing twice: do it before and after you sharpen. The comparison tells you more than either result alone, because the paper you have is not the paper somebody else used to write the guide you read.
Test 2: The tomato test
What it tells you: whether the edge will do the job you actually bought the knife for.
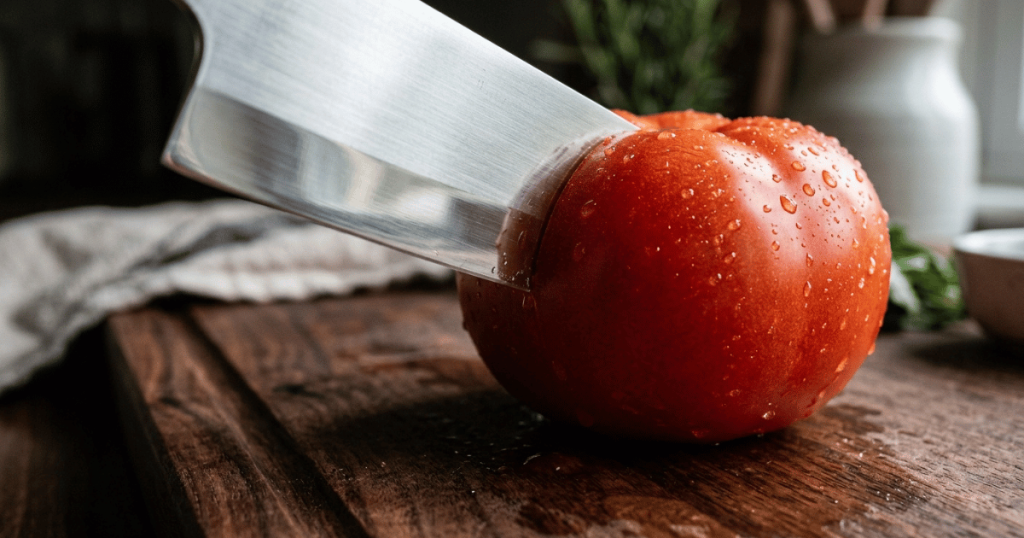
A tomato is a hard skin over a soft interior, which means the edge has to start the cut without any pressure to help it. That is the exact situation where a dull knife fails and where it becomes dangerous, since the blade skids across the skin before it bites.
Put the tomato on a board. Rest the blade on the skin with no downward force at all and draw it back toward you.
- Sharp: the skin opens under the weight of the blade alone.
- Dull: the blade slides, and you have to push.
Keep your free hand flat on top of the tomato, fingers well back, and stop the moment the blade is through the skin. You are testing the start of the cut, not cutting up a tomato.
This is the test to use if you only do one, because it maps directly onto the failure people actually experience in the kitchen.
Test 3: The thumb-across test, for the burr
What it tells you: something different from the other two. This is not a sharpness test. It is a test for whether a burr is present, and it matters mid-sharpening rather than in the drawer.
A burr is a thin ribbon of steel that forms and folds over to the far side of the edge when you have ground far enough on one side. Finding it is how you know one side is done.
Lay the knife flat on a board, edge away from you. Run the pad of your thumb across the blade, from the spine down toward the edge, and stop at the edge. Perpendicular to the edge, never along it. A burr feels like a tiny lip or a catch as your thumb reaches the edge, and you will feel it on the side opposite the one you have been grinding.
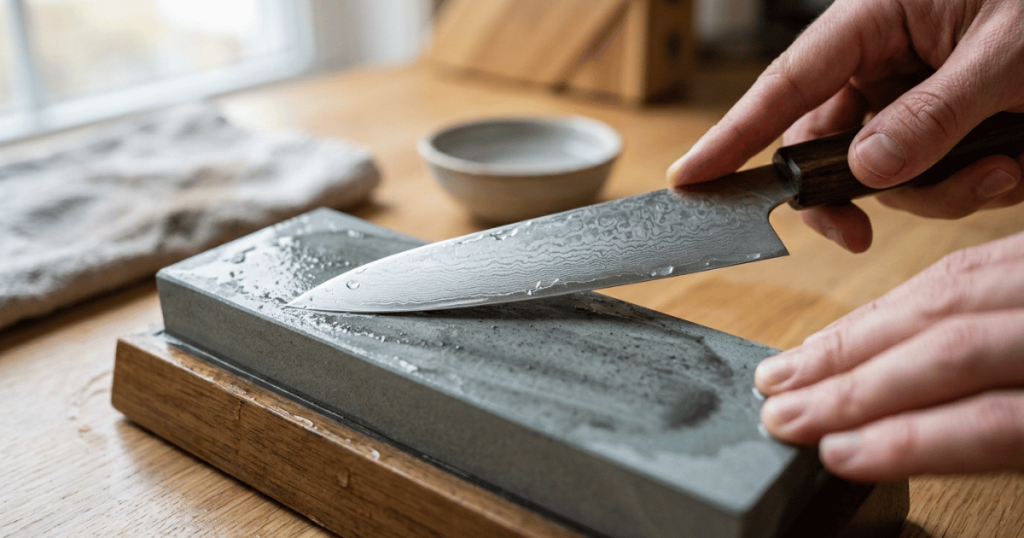
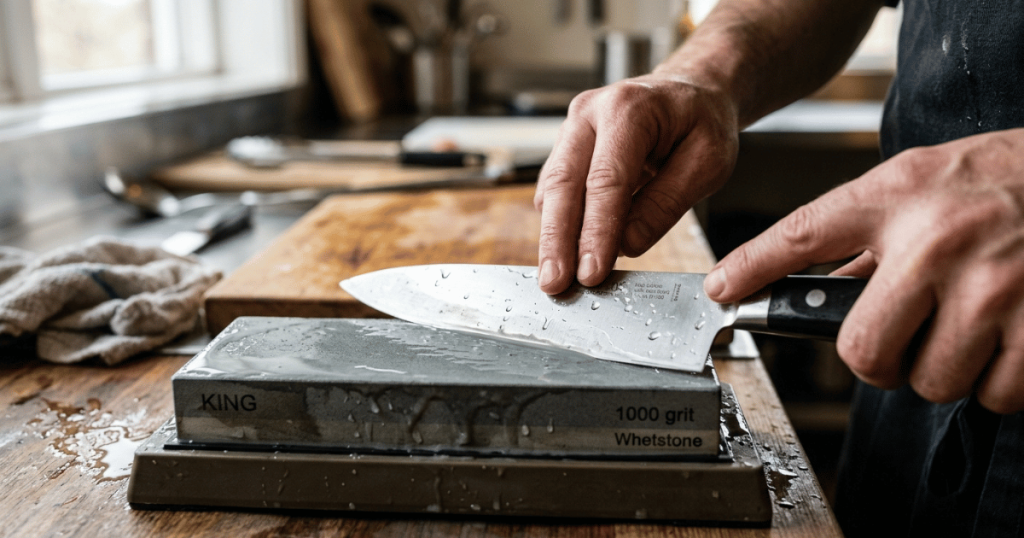
A burr is not sharpness. A knife with a burr still on it will feel aggressive and will perform badly, because the burr folds over in use and leaves you with a rounded edge. That is the whole reason a knife can be sharp on the stone and dull on the board, and the whetstone walkthrough on this site covers where in the process the burr appears and how it comes off.
Test 4: Look at the edge under a light
What it tells you: where the damage is, which the other tests cannot.
Hold the knife with the edge pointing up toward a bright light, and look straight down at it from above. A properly sharp edge reflects nothing: there is no flat surface up there wide enough to catch the light.
Anywhere you see a bright line, a glint or a white dot, there is a flat spot or a chip, and that is a place the edge has been rolled or broken rather than sharpened away.
This is the test that tells you which problem you have. A continuous dull line along the whole edge is normal wear. Isolated bright dots are chips, and chips are a different repair with a different amount of steel removal behind it.
Two tests worth skipping
The arm hair test. Shaving hair off your forearm is the internet’s favorite demonstration and it is not useful for a kitchen knife. It tests a very fine polished edge, which is not what a knife that will meet a cutting board all week needs, and it puts a bare edge against skin for no information you could not get from paper.
The fingernail test. Resting the edge on a thumbnail to see whether it bites rather than slides does work in principle, and it involves placing a sharp edge on a part of you attached to the rest of you. The tomato tells you the same thing.
What the answer means next
Once you know it is dull, there is a second question that decides everything, and most people skip it: is it dull, or is it bent?
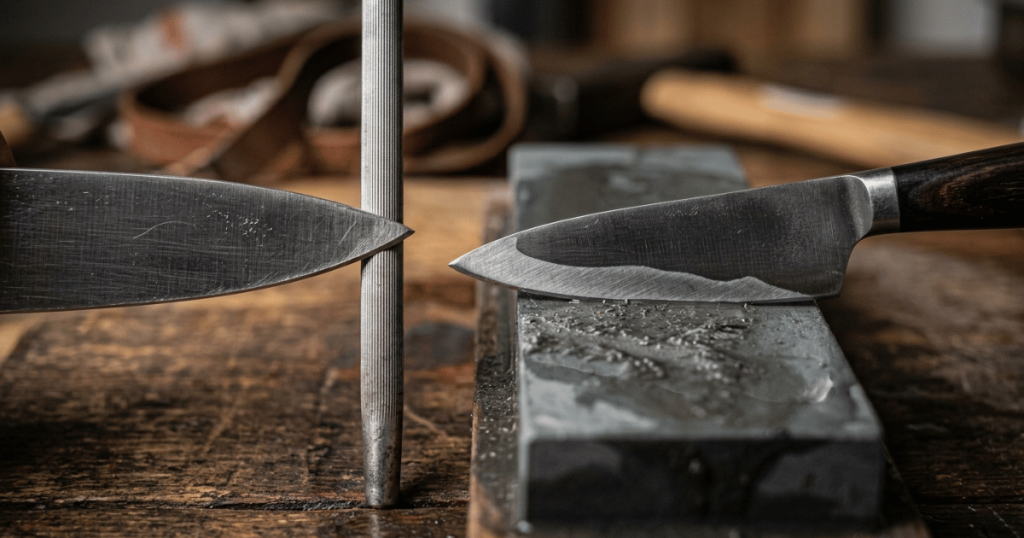
An edge that has rolled over to one side is not missing any steel. It can be straightened in seconds and it will come back. An edge that has genuinely worn away has to have new steel ground into shape, which is a different job with a different tool. The difference between honing and sharpening is the whole of that distinction, and the practical test is simple: hone it and test again.
If a few passes on a rod bring it back, it was bent and you have just fixed it. Using a rod properly is a short procedure and it is worth doing before you reach for a stone.
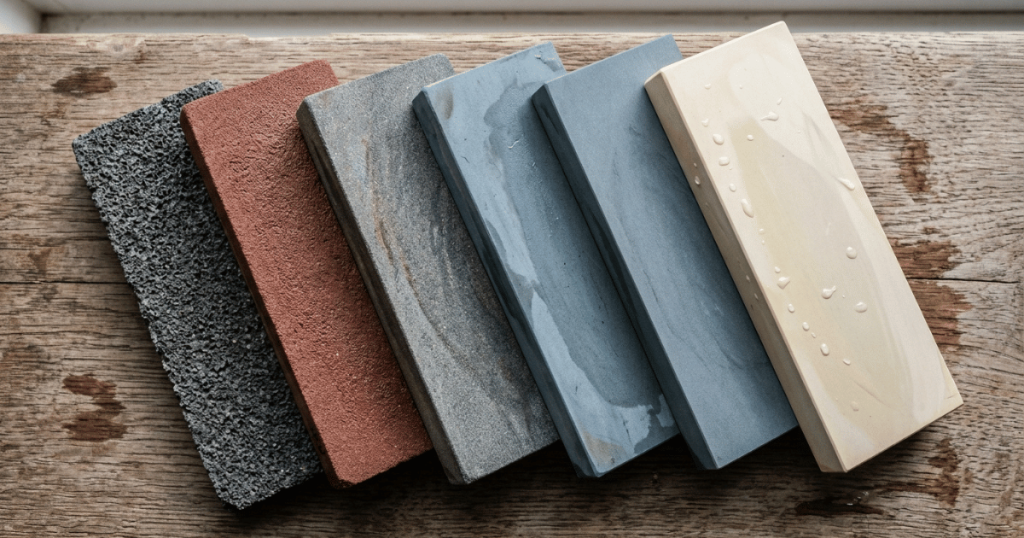
If honing changes nothing, the edge is worn or damaged, and it needs sharpening. Which sharpening method suits which knife is the next decision, and it depends on the knife rather than on your preference.
How often to check
The useful habit is not a calendar. It is the tomato test at the start of a session where the first job is a tomato, an onion skin or a pepper. Those three are the ingredients that tell you immediately, and you were going to cut them anyway.
Checking a knife you are about to use is worth more than checking every knife once a quarter, because the one in your hand is the one that matters.
The short version
Slice hanging paper away from yourself and read the result along the whole blade. Rest the edge on a tomato skin with no pressure and see whether it starts. Look down the edge under a light to find chips. Feel across the edge, never along it, and only when you are looking for a burr mid-sharpening. Then hone it and test again: if it comes back, it was bent, and if it does not, it needs a stone.