Sharpen it on a whetstone, at the angle its maker publishes, with lighter pressure than you would use on a German knife, and finish on a higher grit. Japanese kitchen steel is harder, so the edge chips where a Western edge would simply bend over, and pressure plus a drifting angle are what break it. Keep it out of pull-through slots and off steel honing rods unless the tool is angle-matched to that specific knife. And if the back of your blade is flat or slightly hollowed rather than beveled, it is a single-bevel knife and this is not the procedure for it.
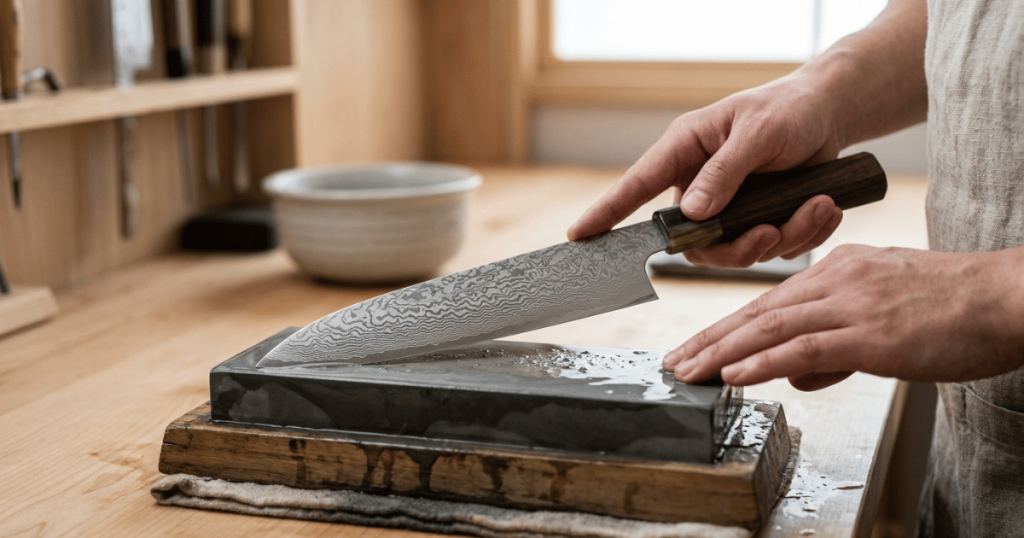
First: which Japanese knife do you have?
This matters before anything else, because the two families need different hands.
A double-bevel Japanese knife is ground on both faces, like a Western knife. Gyutos, santokus, nakiris, bunkas and petty knives are almost always double bevel, as are the Japanese-made knives sold by Western brands. This article is about those.
A single-bevel knife is ground on one face only. Korin describes the traditional Japanese pattern plainly: “Traditional Japanese knives are sharpened or grounded only on one side of the blade to create a razor sharp edge.” Yanagiba, deba and usuba are the common examples, and the flat-looking back is usually not truly flat but slightly hollowed. Maintaining that back is a separate skill with its own failure modes, and doing it wrong ruins the knife in a way that is expensive to correct. Do not adapt the method below to it. Our overview of which sharpening method is safe on which knife explains why the single bevel is treated as its own procedure, and this site covers it in a dedicated article rather than as a footnote here.
The quickest check: look straight down at the spine with the edge away from you. Two symmetrical bevels meeting at the bottom means double bevel. One bevel on one side and a flat or dished face on the other means single bevel. Stop here if it is the second one.
What is genuinely different about a hard Japanese edge
Four things change, and they change together.
The angle is lower. Makers publish their own figures and they are not the same. Shun states that its knives “are sharpened to a 16° angle on each side of the blade.” Zwilling’s care guidance says that “Santoku knives and all MIYABI and Kramer made by ZWILLING knives should be 9-12°,” against 10 to 20 degrees for its standard knives. Global tells owners to “hold the knife so that the blade meets the stone at a 10-15 degree angle.” Wüsthof, a German maker, puts its own Asian-style blades, santokus and nakiris, at 10 degrees per side against 14 for its standard blades. Every one of those numbers is per side. The spread between 9 and 16 degrees is not a disagreement about physics, it is four companies grinding four different products, which is exactly why the number you want is the one your maker publishes, or failing that, the one already on your blade.
The steel is harder, and hard steel chips. This is the whole reason this article exists, and the clearest statement of it comes from a maker rather than a critic. Shun’s own FAQ says: “Without proper knife technique, micro chipping can be the downside of very hard stainless steel.” Softer Western stainless absorbs a bad moment by deforming, so the apex rolls over and a honing rod pushes it back. Harder steel does not have that option. It fractures instead, and a fracture cannot be pushed back into line. It has to be ground out, which costs you real blade width.
There is less metal behind the edge. A thin blade is much of the point of a Japanese knife, but thin geometry means the apex has less material supporting it. Pressure that a thick German bolstered knife shrugs off will flex a thin blade against the stone and round or fold the very edge you are forming.
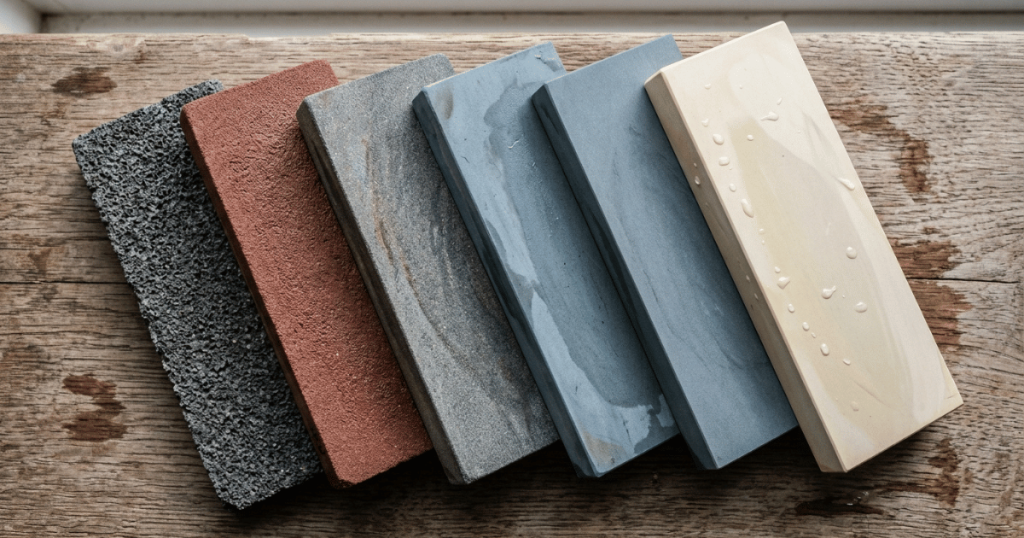
It will hold a finer finish, so finishing higher is worth the time. On soft steel a high polish disappears within days. On hard steel it lasts, which is why the makers pair their own knives with finishing grits: Shun’s own combination stone is “1000 grit on one side, 6000 grit on the other.” Our breakdown of what each whetstone grit does covers where to stop for each knife type and why the grit numbers on two boxes may not describe the same stone.
The tools to keep away from it
This is where an expensive knife is most often destroyed, and the sources here are unusually direct.
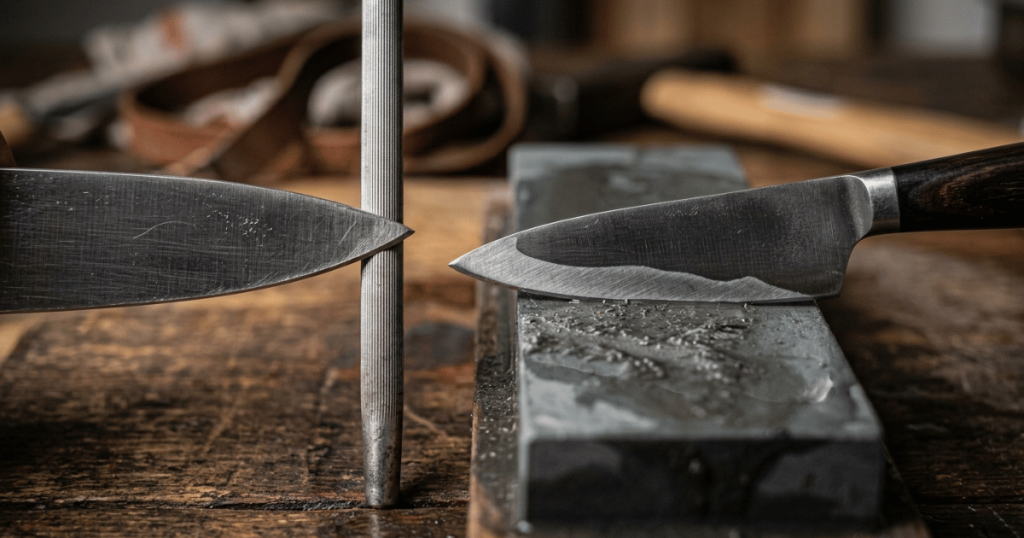
Steel honing rods. Korin’s care guidance for Japanese knives is unambiguous: “Do not use a sharpening steel to sharpen your Japanese knife. Using a sharpening steel can damage your blade.” Global’s own care page carries a compatible warning about mismatched tools: “DON’T use traditional steels made from other materials as they are likely to damage your GLOBAL knives.” Shun takes a different line, but a narrow one: it sells a honing steel and points out that “our Honing Steel has a built-in honing guide set to the correct Shun 16° angle.” Read those together and the rule is clear enough. A rod that is angle-matched and intended by the maker for that knife is one thing. A grooved steel rod from a Western knife block, used freehand at whatever angle your wrist finds, is another, and it is a genuine way to chip a hard edge.
Pull-through and electric sharpeners. Same logic, higher stakes. These work by dragging the edge past fixed abrasive at the machine’s angle, not the knife’s. Put a 10 to 12 degree edge into a slot built for 20 and the machine grinds an entirely new and blunter bevel, removing a lot of steel to do it, and the impact loading on a hard thin edge is exactly the condition that causes chipping. The exception is the same as above: Shun offers a “Diamond and Ceramic Retractable Sharpener, which matches the 16° angle of our cutlery.” Matched to the knife, by the maker, is a different tool than a generic slot.
Cutting surfaces and cutting jobs. Most chips do not happen on the stone. Shun’s guidance is one sentence long: “Please do not use Shun knives on bones, joints, or frozen foods.” Korin says the same thing with a wider list, asking owners to “refrain from cutting extremely hard and/or frozen items (i.e bones, seeds, metal, etc.) with your knife,” because “this may cause chipping or damage to the edge.” Global adds the surface: “Do not cut on a marble, stone, tile or glass surface.” A knife you sharpen beautifully and then use on a frozen chicken thigh or a glass board will be chipped again by the weekend.
Sharpening it, step by step
The sequence is the same one in our step-by-step whetstone walkthrough. What follows are the changes, and they are all in the same direction: less force, more attention.
1. Prepare the stone and lock it down
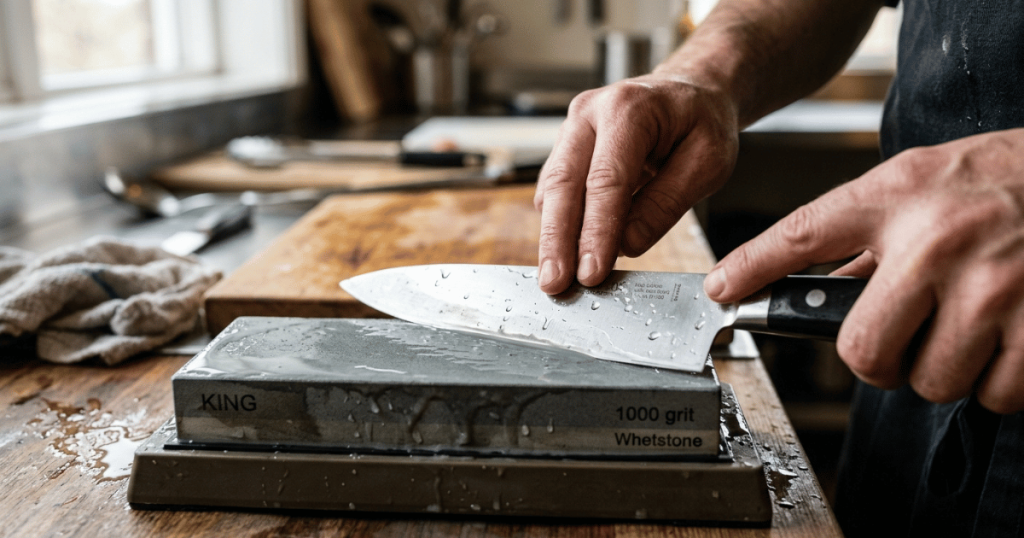
Follow your stone’s own instruction. Global asks for a soak of “approximately 10-15 minutes”; Shun says to “soak stone in water before using; use stone with water only”; splash-and-go stones want only a wet surface and can be damaged by soaking.
Set the stone in its holder or on a damp towel on a non-slip mat, and push it hard with your hand before the knife comes out. A stone that shifts under a thin, very sharp blade is the most likely way this session ends in the emergency room, and it is entirely preventable. Work at a height where your forearms are relaxed, because a tense grip is a grip that drifts.
2. Find the angle, do not assume it
Color the bevel with a permanent marker, take three or four light strokes, and look at what came off. Ink removed evenly across the bevel means you have matched the factory grind. Ink gone only at the apex means you are too low; ink gone only at the shoulder means you are too high. On a Japanese knife this check is worth doing every time rather than once, because at these angles a couple of degrees is a large proportion of the total.
If you cannot hold it steady by hand, use an angle guide or a clip. There is nothing wrong with a jig on a knife where a wobble costs you an hour of repair.
3. Work the medium stone with the pressure turned down
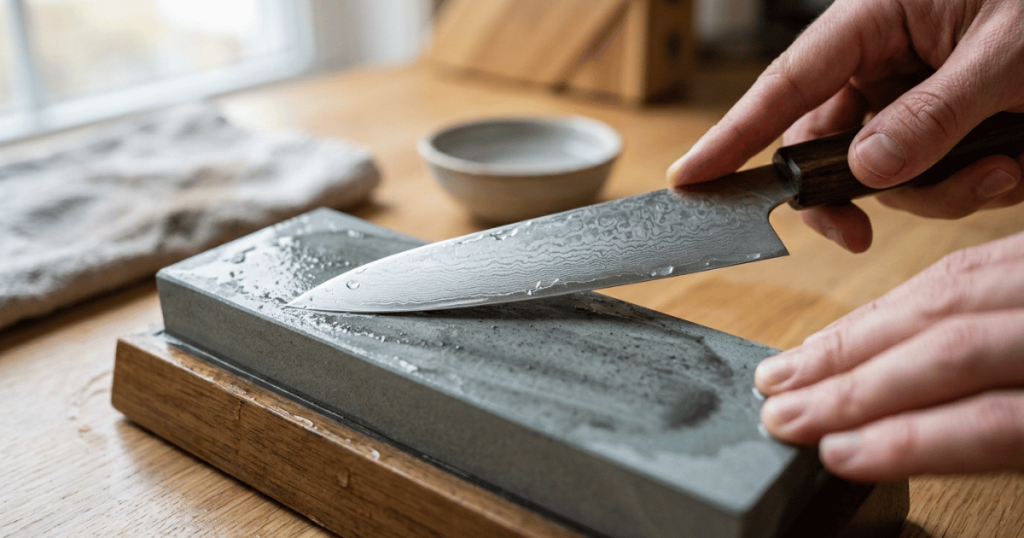
Keep the edge moving away from your body throughout. Lay the blade at your matched angle, fingertips of the guide hand pressed on the flat of the blade well above the edge, and work in sections: heel, then belly, then tip, lifting the handle as you move forward so the curve stays in contact.
The pressure should be lighter than on a Western knife, roughly the weight of the blade plus a little guidance. Hard steel does not need to be forced and does not respond well to being forced. If the slurry on the stone turns gray quickly, that is the abrasive working; Global’s instruction is to leave it there, since “during sharpening a certain amount of wet powder will appear, but do not wash or wipe this residue and continue sharpening.”
Done when a burr runs the full length of the far side of the edge. On hard steel the burr is smaller and more brittle than the soft flag of steel a German knife throws up, so you are feeling for something subtle. Check it by drawing your thumb from the spine outward across the edge and off it. Never draw a finger along the length of an edge, in either direction, to test anything.
4. Flip, then refine on the finishing stone
Repeat on the other side at the same angle until the burr moves across. Then move to the finishing side, rinsing the blade and your hands first so no coarse grit travels with you.
On the fine stone, alternate sides every stroke or two, with even less pressure than before. This is the stage that repays hard steel: a 3000 to 6000 finish that a soft blade would lose in a week will still be there on a good Japanese knife after weeks of ordinary use.
5. Deburr gently, and test without touching the edge
The brittle burr on hard steel is more likely than a soft one to snap off in use and take a sliver of apex with it, which is a chip you created yourself. Remove it with very light edge-trailing strokes on the finishing stone, or by stropping on leather or folded newspaper. Strop spine first and away from you, always: an edge-leading stroke on a soft surface digs in and drags the blade toward your hand.
Test on paper first, then on a tomato with no downward pressure. Then wash and dry the knife immediately rather than leaving it in a wet sink, and keep it out of the dishwasher, which Shun and Korin both advise against for their own knives.
If it chipped anyway
A chip is not sharpened out at 3000 grit. The edge has to be ground back behind the deepest point of the damage on a coarse stone, and then the whole ladder repeated, which removes real blade height and takes time. A very small chip near the heel is often worth simply living with. A large one, or one at the tip, is worth pricing against a professional regrind before you start, because the amount of steel a beginner removes fixing a chip usually exceeds the damage itself.
Frequently asked questions
Can I use my German knife’s honing steel on a Japanese knife?
Korin says not to, in those words, and Global warns against steels made from other materials than its own. The safe reading is that a rod supplied or specified by your knife’s maker for that knife is fine, and a generic grooved steel used freehand is a risk you do not need to take. A fine ceramic rod used with a light touch is the common middle ground, but it is still a rod, and it still wants the knife’s angle.
What grit should I finish a Japanese knife at?
The 3000 to 6000 band covers it, and the makers’ own combination stones sit there: Shun packages 1000 and 6000. Higher than that is polishing rather than sharpening, and it is genuinely useful only on very hard steel and single-bevel edges.
Why did my brand new Japanese knife chip on its first week?
Usually the job, not the sharpening. Bones, joints, frozen food, squash seeds, and glass or stone cutting boards are the named culprits in the makers’ own care pages. Hard steel gives you edge retention in exchange for tolerating less abuse, and that trade is the product working as designed rather than a defect.
Is 15 degrees the right angle for all Japanese knives?
No, and the published figures show why: 16 degrees from Shun, 9 to 12 from Zwilling for Miyabi and santoku, 10 to 15 from Global, 10 from Wüsthof for its Asian-style blades. Find your maker’s own number, and if there is none, match the bevel already on the knife rather than imposing a figure from an article.
My knife has a flat back with a slight hollow. Do I follow this method?
No. That is a single-bevel knife, and both the front bevel and that hollowed back have to be maintained on their own terms. Read the single-bevel procedure before you touch it with a stone.