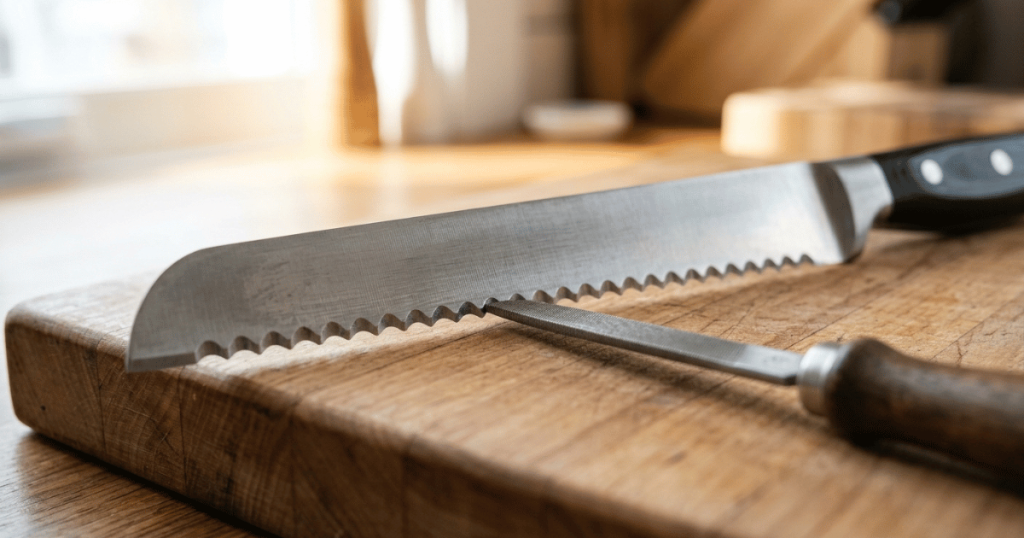
Yes, a serrated bread knife can be sharpened. It is done one scallop at a time with a tapered rod, on the beveled side only, and the flat side gets nothing but a single feather-light pass at the end to remove the burr. A flat whetstone cannot reach the working surface, and a standard pull-through slot will grind the teeth off. Before any of that, though, two questions are worth answering: is this knife worth sharpening, and is the problem actually the knife.
Decide first: sharpen, send out, or replace
Not every serrated knife should be sharpened at home, and the manufacturers do not agree on this, which is worth knowing before you commit an evening to it.
Zwilling’s own care guidance takes the hard line: “don’t ever hone serrated knives. They must be sharpened by a professional or replaced.” Sharpening-tool makers such as Work Sharp take the opposite position and sell purpose-made serrated attachments and rods. Both positions are defensible, because they are answering slightly different questions. Zwilling is telling an ordinary owner not to attack a wavy edge with the grooved steel rod from the knife block, and following that instruction really would wreck the knife. The tool makers are describing a specific technique with a specific tool.
Three practical filters:
- Can a rod actually seat in the scallops? Hold a tapered rod against the edge. If you can find a point on the taper where the rod sits snugly inside one scallop and touches the whole ground face, you can sharpen this knife. If the serrations are so small and tight that nothing seats, it is micro-serrated, and that is a replace-or-professional knife.
- Is the knife worth more to you than the tool and the hour? A cheap serrated knife with stamped teeth is often not worth the rod you would buy to fix it. That is a straightforward comparison and only you can make it.
- Is anything actually wrong with it? See the section further down. A lot of bread knives get accused unfairly.
Find the beveled side
Almost every serrated kitchen knife is ground on one side only. One face has a visible ground bevel running along the scallops, and the other is flat or very nearly so. You sharpen the ground side. Working the flat side removes the geometry that makes the teeth bite, and there is no undoing it.
Look at the blade edge-on under good light and tilt it. The beveled face catches the light as a distinct narrow band along the toothed edge; the flat face does not. If you still cannot tell, run a permanent marker along both faces at the edge, take one very light pass with the rod inside a single scallop on one side, and see which face lost ink. That is your side.
The tools, and the ones that will wreck it
What works:
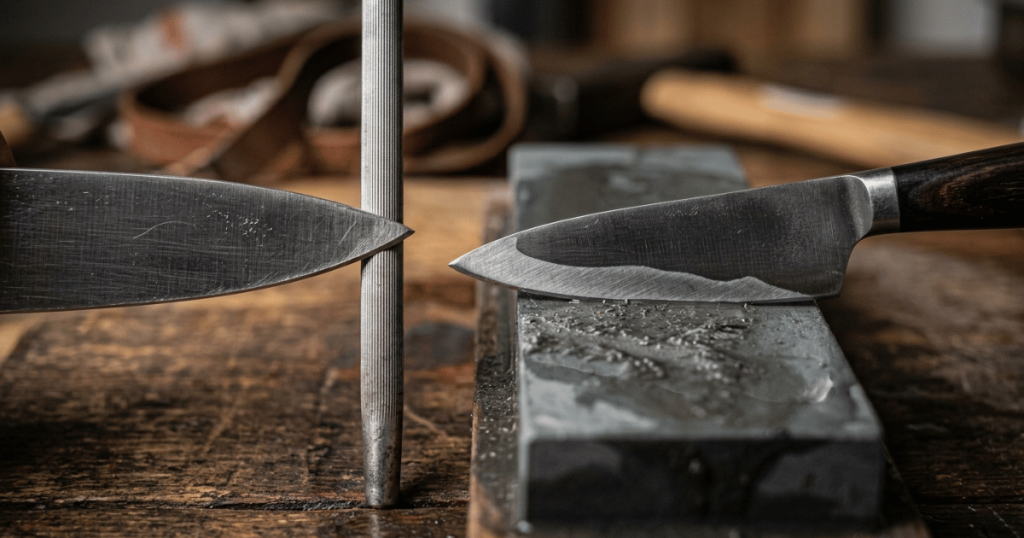
- A tapered ceramic or diamond rod. The taper is the whole point: it lets you find a diameter that matches each scallop instead of forcing one size into all of them.
- A purpose-made serrated attachment on a sharpening system, which is the same idea in machine form.
- The corner or edge of a fine stone as a fallback on knives with large scallops. It is awkward and slow, and it works.
What does not, and why:
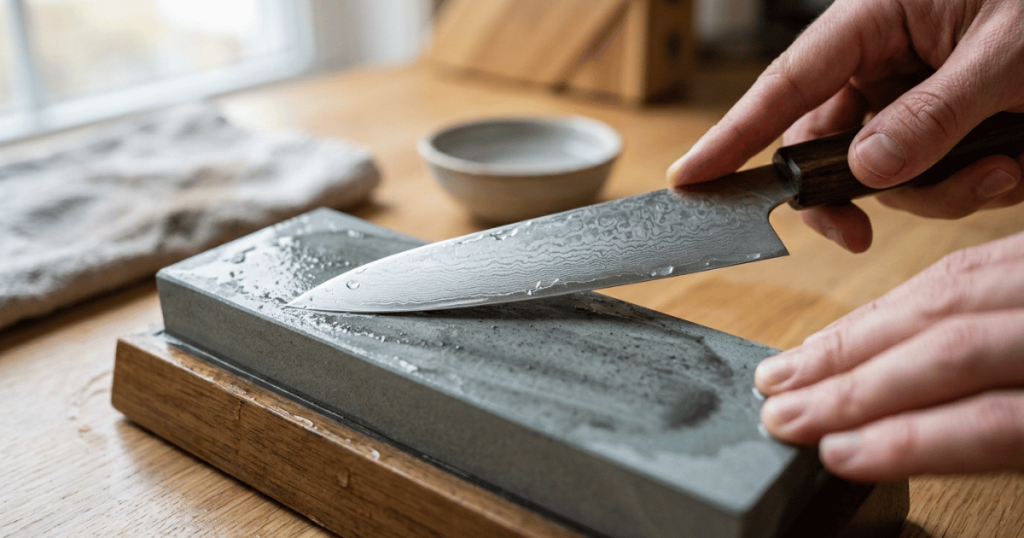
- A flat whetstone, laid flat. The cutting happens on the inside curve of each scallop, below the level of the points. A flat surface touches only the points, so it wears the teeth down toward a straight, blunt edge. The flat-stone method for a plain edge is a good procedure applied to entirely the wrong geometry here.
- A standard pull-through sharpener. Fixed abrasive dragged along the whole edge at once does the same damage faster.
- A grooved steel honing rod. This is the tool Zwilling is warning about. It does not fit the scallops, it does not straighten a serrated apex in any useful way, and it chews the points.
- Most electric sharpeners, unless the machine has a slot specifically built and labeled for serrated edges.
Step by step
1. Set the knife down so it cannot move
Lay the knife flat on a folded towel over a non-slip mat, beveled side facing up, handle toward you, with the toothed edge just past the towel’s edge so you have clear access to each scallop. Do not do this holding the knife in mid-air in your other hand. You are about to apply pressure to a rod inside a scallop, and if the rod skids off a stationary knife it hits a towel, while if it skids off a knife you are holding it goes into your hand. Good light matters here more than usual, because the scallops are small.
2. Seat the rod in the first scallop
Starting at the heel, slide the tapered rod along its own length until you find the point where its diameter fills the scallop and makes contact across the whole ground face, not just at the top or the bottom. Then tilt the rod to match the angle of that ground bevel. You are not choosing an angle; you are copying the one that is already there, exactly as you would on a flat stone.
3. Work one scallop, then move on
Take a small number of light strokes in that single scallop, in one direction, moving the rod outward and away from you rather than back and forth. Published guidance from serrated-sharpening sources clusters around four to six light passes per scallop, but the honest instruction is to go until the marker ink is gone or until you can feel a faint burr on the flat side, not until you reach a count.
Then move to the next scallop and reset. Serration sizes vary along the same blade on many knives, so the diameter that fit the first tooth may not fit the fourth. Reseat every time. This is slow, and the slowness is the job.
4. Check for the burr, carefully
When a scallop is done you can usually feel a very small burr on the flat side of the blade directly behind it. Feel for it by resting a thumb on the flat face and drawing it outward across the edge and off, never by running a finger along the length of the edge. A serrated edge with a fresh burr will open a finger drawn along it without you noticing until afterward.
5. Deburr the flat side, once
Turn the knife over. Lay the flat face dead flat against a fine stone or a piece of fine wet-or-dry sandpaper on a hard surface, and take one or two feather-light passes along its whole length. That is all. The purpose is to knock the burrs off, not to sharpen this side, and any real pressure here starts removing the flat reference face that the whole edge depends on.
6. Wipe and test
Wipe the blade with a clean cloth and test on something with a skin: a tomato or a ripe pepper. A serrated edge that is working bites in on the first light draw. Bread is a poor test, because a serrated knife will saw through most loaves even when it is fairly dull.
Steak knives and tomato knives
Same method, smaller scallops, and less patience required because the blades are shorter. Two notes specific to them. Steak knives are frequently micro-serrated, with teeth too fine for any rod to seat, and those are a replacement rather than a project, so check with the rod before you decide. Tomato knives usually have larger scallops and a forked tip, and that tip is easy to catch and bend with a rod, so work carefully in the last inch or leave it alone.
It is probably not dull yet
Serrated edges last a remarkably long time, and there is a structural reason: the points take the impact against the board, while the parts that actually cut sit down inside the scallops where they never touch a hard surface. A serrated knife in ordinary home use may go for years without needing anything.
So before you assume the knife has failed, check the other variables. A very fresh loaf with a soft crumb compresses instead of slicing no matter what you use. A hard crust needs a long, slow saw and no downward pressure at all. And a knife with visibly flattened, shiny tips has usually been through a pull-through slot or a drawer full of other metal, which is a different problem than a dull one.
How to tell a dull knife from a technique problem, across every knife in the drawer, is covered in our guide to the sharpening method that matches your knife, which sorts serrated, ceramic, single-bevel and ordinary edges into what each one can and cannot survive.
Frequently asked questions
Can I sharpen a serrated knife on a whetstone?
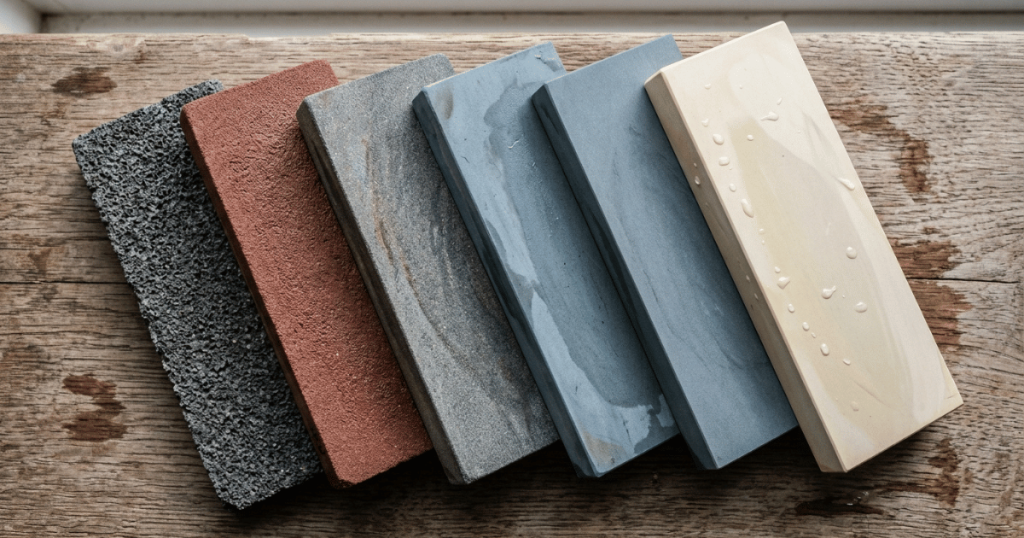
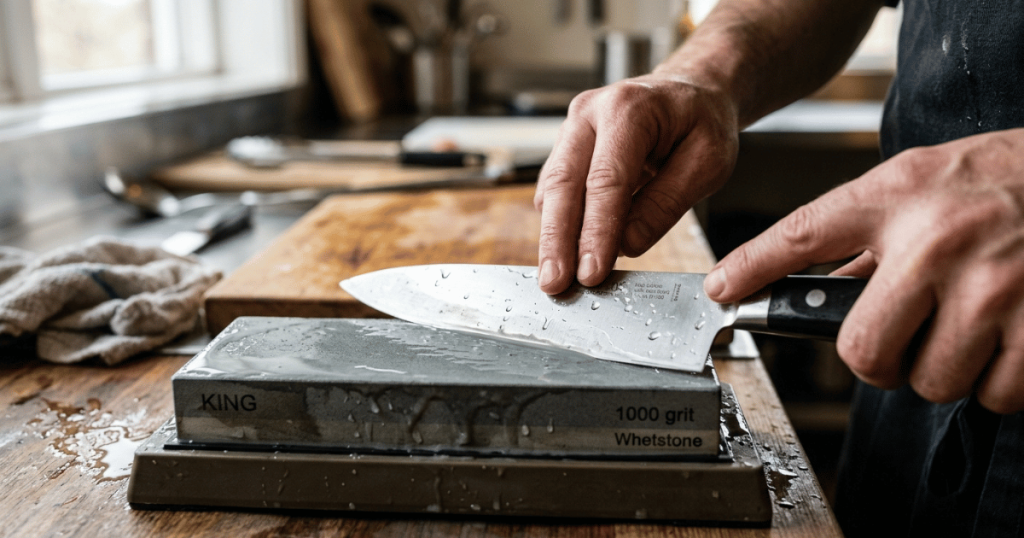
Not laid flat, no. A flat stone reaches only the points of the teeth and grinds them down toward a straight edge, which is the opposite of what you want. The corner or edge of a fine stone can substitute for a rod on a knife with large scallops, but it is a fallback rather than a method. For the flat-stone technique on a plain edge, our guide to whetstone grits covers where to start and where to stop.
Can I use a pull-through sharpener on a bread knife?
No, unless the device has a slot built and labeled specifically for serrated edges. A standard slot drags fixed abrasive along the whole edge at once and takes the teeth off.
Can a serrated knife be honed?
Not with a conventional grooved honing steel. Zwilling’s own instruction is “don’t ever hone serrated knives.” Honing works by pushing a rolled apex back into alignment, and a serrated edge does not present a continuous apex for a rod to align.
Which side do I sharpen if both sides look beveled?
A small number of serrated knives really are ground on both faces. If yours is, work each scallop lightly from both sides, alternating, and keep the passes even so you do not shift the edge off center. Check under good light first, because an asymmetric grind can look symmetrical at a glance.
Is it worth paying someone to sharpen a bread knife?
It can be, and it is the sensible route for micro-serrated blades and for anything you would rather not experiment on. Serrated sharpening is fiddly, slow and easy to do badly, and a service with the right rods will take a fraction of the time you would.