Grind the spine down to meet the edge. Not the edge up to meet the spine. That is the whole technique, and getting it backwards is the most common way people turn a broken tip into a much shorter knife.
Why the direction matters so much
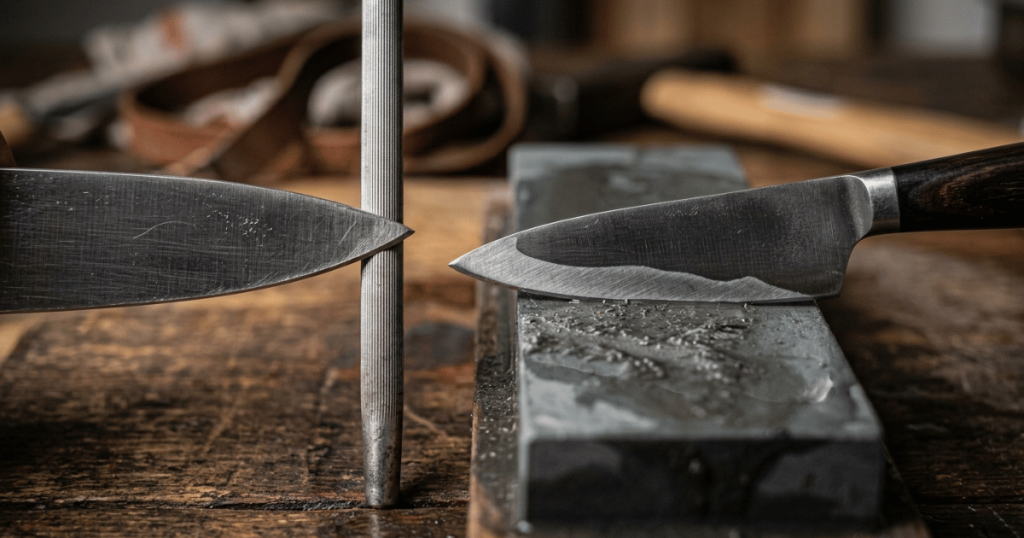
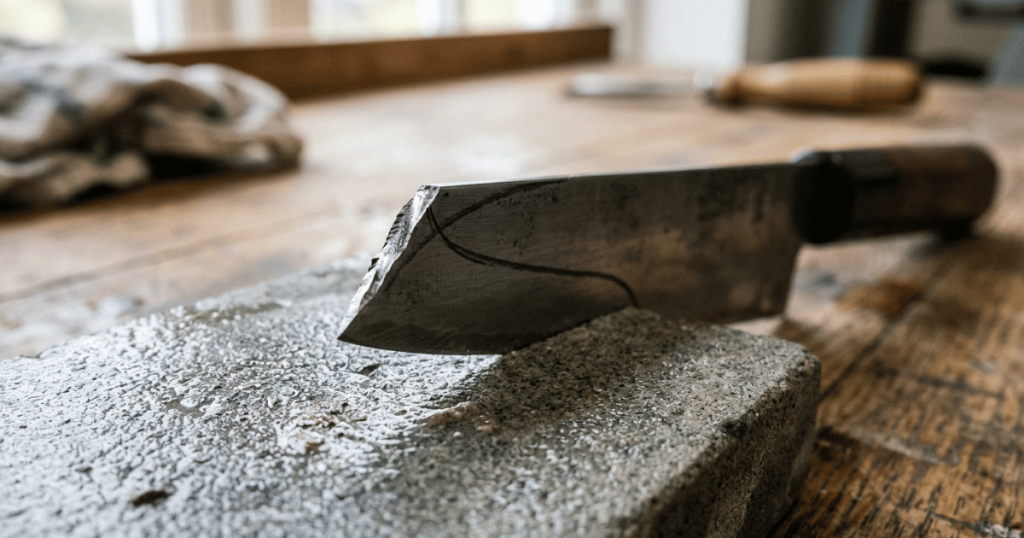
A knife tip is where the spine and the edge converge. When a tip snaps, you are left with a blunt stub: the edge line stops short and the spine ends in a squared-off end.
There are two ways to make them meet again.
Grind the spine down toward the edge. The spine is thick, dull, and does no work. Removing metal there costs you nothing you use. The edge line stays where it is, so the cutting length is preserved, and the profile shortens by only the length of the missing piece.
Grind the edge up toward the spine. The edge is the part that cuts. Removing metal there removes blade height along the front of the knife, and to bring the edge up to a spine that is still full height you have to take a great deal of it. You end up with a knife noticeably shorter in the blade, with a changed profile, having removed steel you actually needed.
People do the second one because the spine is thick and grinding it looks like more work, so the instinct is to attack the thinner part. The instinct is wrong.
First decide whether to repair it at all
Three questions.
How much is missing? A small break is a short job with a barely changed knife at the end. A large break means a visibly reprofiled knife.
Do you use the tip? On a chef’s knife the tip does detail work and it matters. On a heavy cleaver or a bread knife it may not.
What is the knife worth? Tip repair takes real time. On a cheap knife, replacement is the sensible answer. On a good knife it is worth doing carefully, and on an expensive one it is worth paying somebody.
Hand it over rather than doing it yourself if:
- It is a single-bevel Japanese knife. The bevel and the hollow on the back both have to be carried through the new profile, and that is specialist work.
- A large section is gone, so the whole profile of the blade has to be redrawn to look right.
- The break is not clean: a fracture running back into the blade rather than a snapped point.
- You want it to look like it never happened. A home repair on a good knife is normally a functional restoration, not an invisible one.
The repair
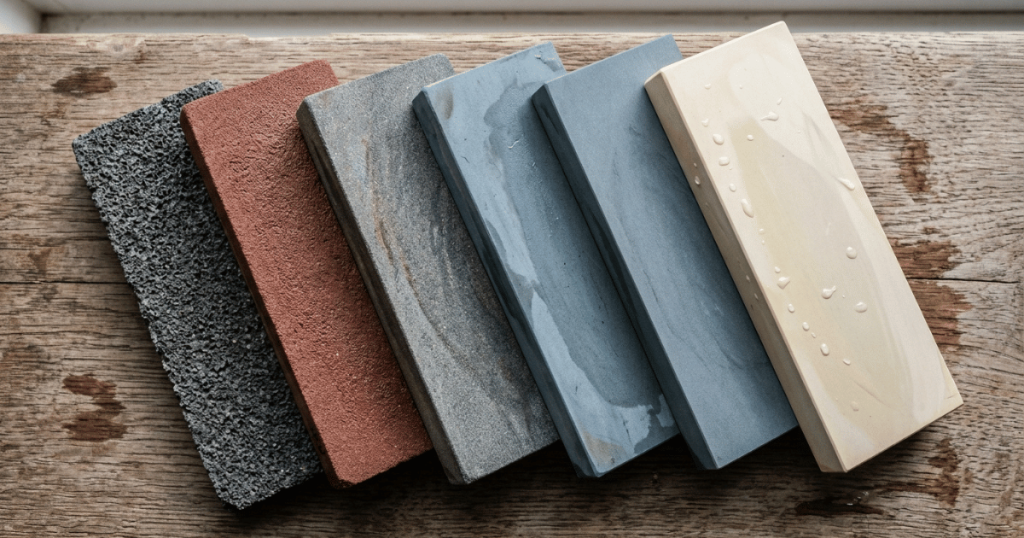
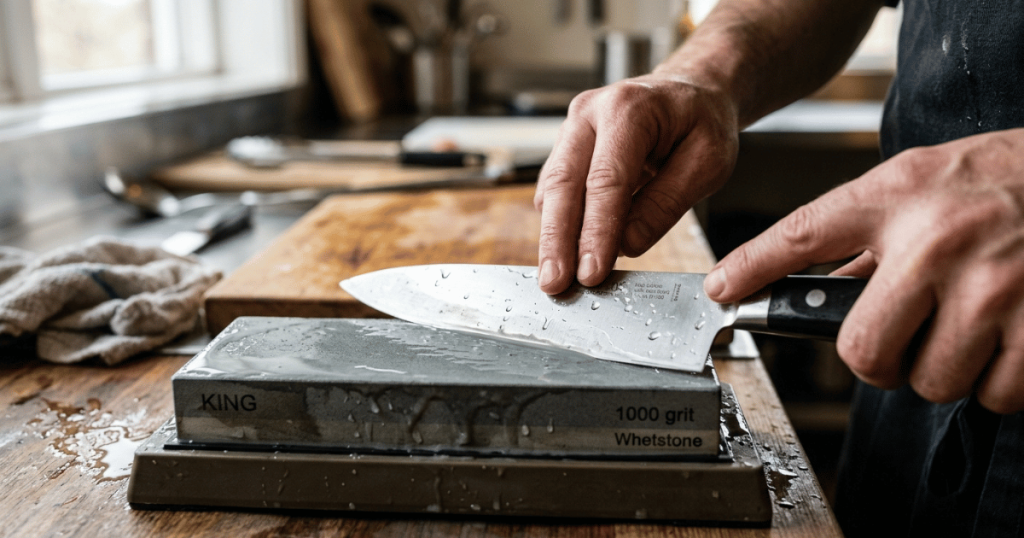
You need a coarse stone. This is a metal-removal job and a medium stone turns it into an ordeal. Which grit does what covers the boundary. Flatten the stone first and put it in a holder or on a non-slip mat.
Step 1: Decide the new profile before you touch the stone
Look at the knife side-on and picture the line you want. The new tip should continue the existing curve of the spine down to meet the edge, so that the finished shape looks intentional rather than cut off.
Two things to avoid: a sudden change of angle where the new grind meets the old spine, and a tip that ends up in a different place vertically from where the old edge line runs.
Mark the line with a permanent marker on both faces of the blade. This is worth doing properly. It takes a minute and it is what stops you overshooting, which you cannot undo.
Step 2: Grind the spine down to the line
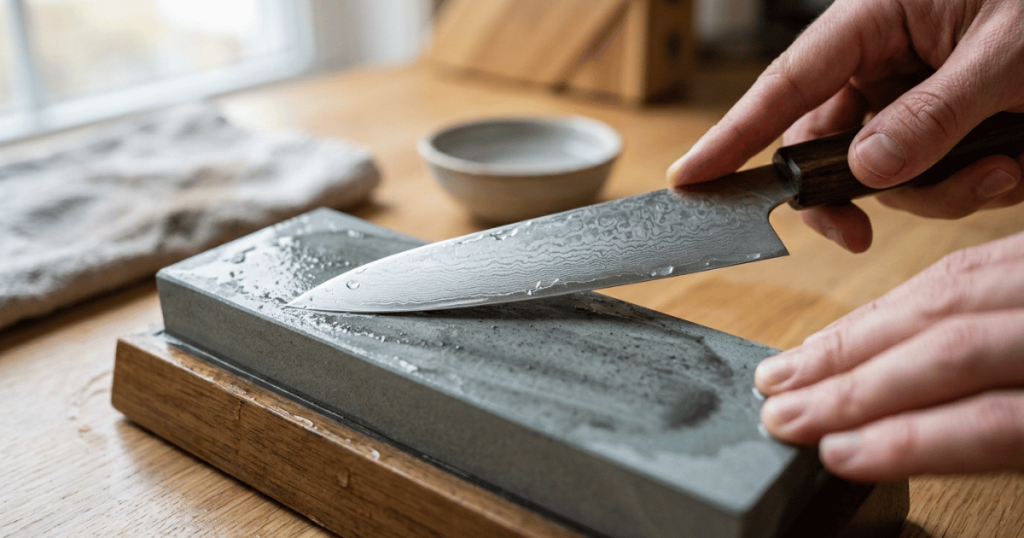
Hold the knife with the spine against the coarse stone and work it along, removing metal from the spine only, following your marked line.
Where your hands are: dominant hand on the handle, other hand’s fingertips on the flat of the blade, well behind the edge. The edge is pointing away from your hands and away from you at all times. You are working the blunt back of the blade, which is the safest part of this whole subject, and there is no reason for either hand to be near the edge.
Keep it wet and keep it cool. Stop and check the temperature with your fingers on the flat regularly. Heat is what ruins a repair, and this is the stage that generates it.
Check your line often. Look side-on every few strokes. It is very easy to grind more on one part than another and end up with a flat where you wanted a curve.
Stop when the spine line reaches the edge line. The two should now converge at a point.
Step 3: Take the flat off the new tip
The new tip will have a flat face where you have been grinding, and it will be blunt. Now you sharpen it: bevels on both sides, at the knife’s own angle, working the last section of the blade until the flat disappears and an apex forms.
Work the tip section with the same angle as the rest of the knife, so the new tip is continuous with the existing edge rather than being a differently angled section stuck on the front.
Continue until you feel a burr along the new section, checking by feeling across the edge from spine toward edge, never along it.
Step 4: Blend it into the rest of the blade
Now sharpen the entire edge, not just the repaired part. A tip that has just been reground and an edge that has not are at slightly different states, and the transition will catch if you leave it.
Medium stone, then fine stone, then remove the burr, along the whole blade. The standard walkthrough is the sequence.
Step 5: Look at it side-on and check the profile
Hold it up. The new tip should look like part of the knife. If there is a visible kink where the new grind meets the old spine, a little more work on the spine either side of the join blends it out.
Heat, and why the grinder is not the answer
This job looks made for a bench grinder or an angle grinder, and it is the single fastest way to destroy the knife.
Grinding generates heat, and heat above a certain point permanently softens hardened steel. A tip that has been overheated will roll and dull almost immediately and will never hold an edge again, because the hardness is gone rather than the sharpness. It is not recoverable by sharpening.
The visible warning is discoloration: straw, blue or purple tints appearing on the steel as you work mean it has been too hot. By the time you see the color, the damage is done.
On a wet stone the water carries heat away and the removal rate is slow enough that overheating is difficult. That slowness is a feature.
Hard Japanese steel is the most vulnerable here, being both harder and thinner. The general procedure for those knives covers what else changes with the steel.
How tips break
Short list, all preventable:
- Prying. Opening packaging, separating frozen items, levering anything. Tips are thin and have no lateral strength.
- Frozen food. The tip meets something that does not give.
- Falling. Knocked off a counter, tip first, onto a hard floor. Catching a falling knife is worse than letting it land, always.
- Drawers. Tips break against other steel.
- Scraping the board with the tip to gather food.
Where you stop
- No powered grinder. Heat destroys the temper permanently.
- The stone stays still. Holder or non-slip mat.
- Both hands stay behind the edge throughout the spine grinding, which is most of the job.
- Check for a burr across the edge, never along it.
- Stop if the blade gets warm, and let it cool completely before continuing.
- Stop when tired.
- Send out single-bevel knives and large breaks.
The short version
Grind the spine down to meet the edge, never the edge up to meet the spine, because the spine is metal you do not use and the edge is metal you do. Mark the new profile with a marker before you start, work on a wet coarse stone with both hands well behind the edge, check the line side-on constantly, and stop the moment the two lines converge. Then sharpen the new tip at the knife’s own angle and blend the whole edge. Never use a powered grinder: the heat softens the steel permanently, and that is the one failure sharpening cannot fix.