A whetstone wears where you use it, and you use the middle. Within a few sharpenings the stone is a shallow bowl, and a bowl grinds a curve into your edge. Most people who conclude they are bad at freehand sharpening have actually been fighting a dished stone.
This is how to prepare a stone correctly, and how to keep it flat, which between them fix more sharpening problems than any change of technique.
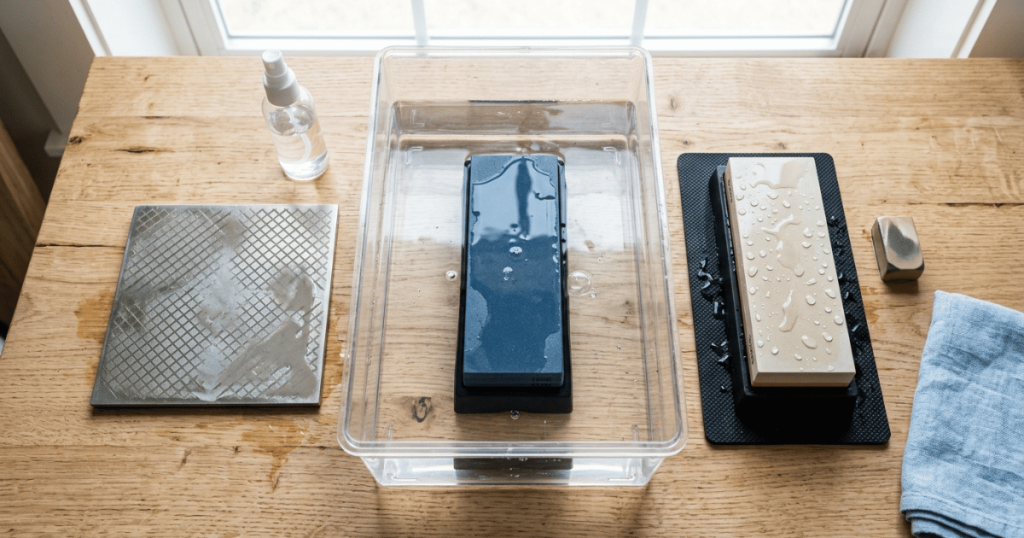
Water: three kinds of stone, three different rules
Before anything else, find out which kind of stone you own, because the water instruction is not a preference and getting it wrong ruins stones.
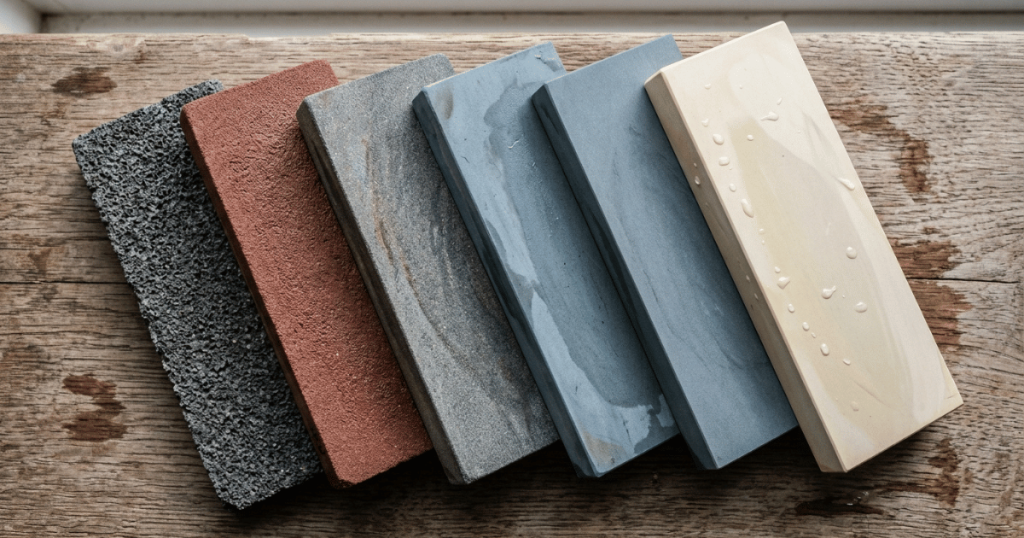
Soaking stones
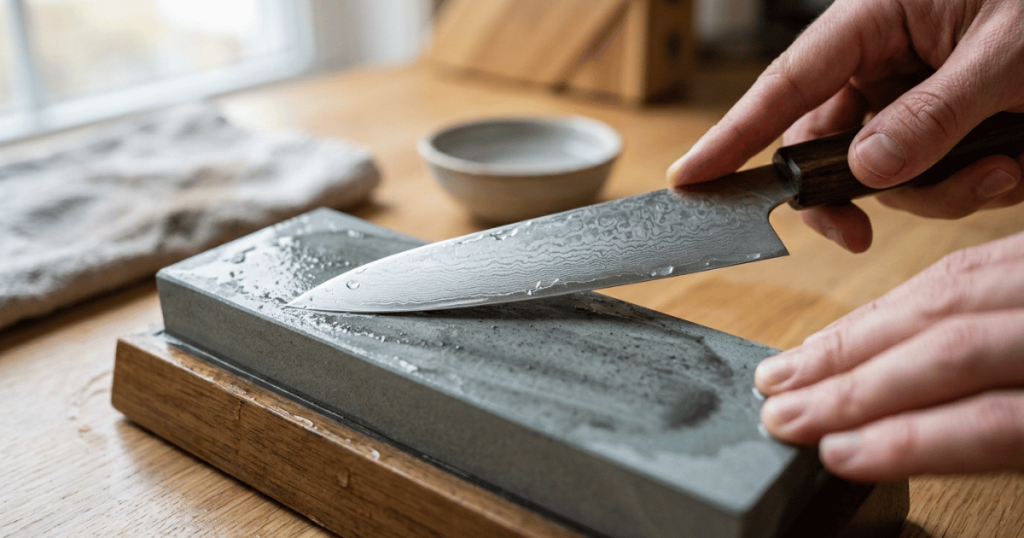
Traditional water stones that go into water until they stop releasing bubbles, and are used wet throughout. The soak fills the pore structure so the stone does not draw water out of the surface slurry while you work.
How long is the stone maker’s number, not a general one. Different stones in different grits want different times, and over-soaking some of them softens the binder. The instruction card that came with the stone, or the maker’s page for that stone, is the source. Nobody else’s number applies to your stone.
Soaking stones must not be left in water permanently unless the maker says they may. Some are sold as permanent-soak stones and most are not, and a stone left wet indefinitely can break down or grow things.
Splash-and-go stones
Used with water applied to the surface as you work, no soak. Usually ceramic or resin-bonded. Splash a little on, work, splash more when the surface dries.
Do not soak a splash-and-go stone unless its maker permits it. Some are damaged by it.
Oil stones and diamond plates
Oil stones use oil, not water, and once a stone has had oil in it, it does not go back to being a water stone.
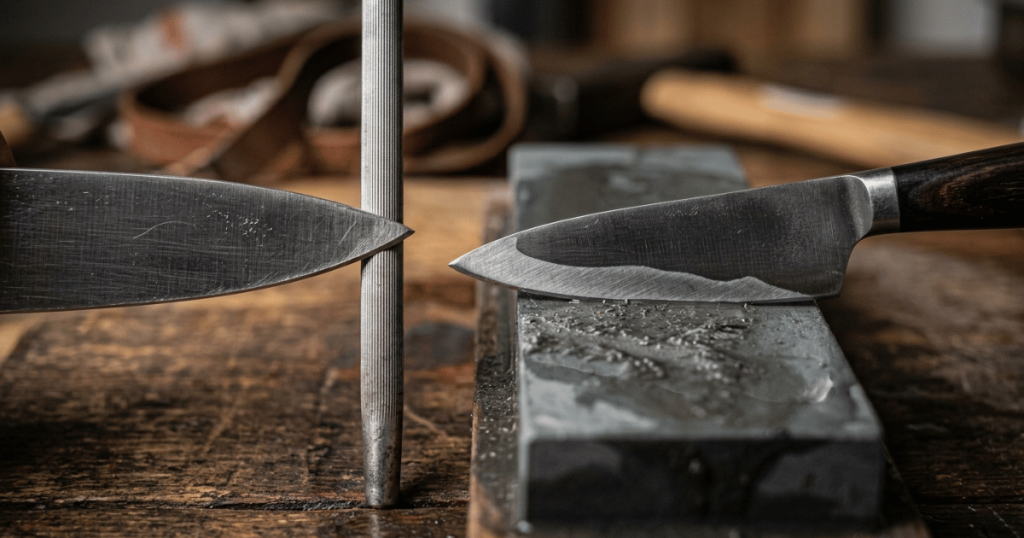
Diamond plates are diamond abrasive bonded to a steel or composite backing, used with water or with nothing depending on the maker. Diamond plates do not dish in any meaningful way, which is one of their real advantages, and they are also often used as the flattening tool for other stones.
Diamond plates are also usually rated on a different grit system from water stones, which is one more reason two grit numbers are not comparable across products. A grit number is a name inside a standard rather than a measurement, and that article sets out why.
Why a dished stone matters more than it sounds
Picture the stone in cross-section. You sharpen with the blade in the middle, so the middle wears fastest, and the ends stay high.
Now put a straight edge on that surface. The blade cannot sit flat. At the ends of the stroke it rides on the high ground; in the middle it drops. The angle you are holding at your hand stays constant while the angle the stone presents changes under the blade, and the result is a bevel that varies along the edge.
Three specific consequences:
- The edge ends up convex or uneven along its length, so it cuts well in one place and badly in another.
- The tip and the heel get worked differently from the middle, because you naturally use different parts of the stone for them.
- The burr forms inconsistently, so the signal you use to know a side is finished stops being reliable. That is genuinely disorienting, and it is why people conclude the problem is their hands.
How to check whether your stone is flat
The pencil grid, which takes ten seconds and is the whole diagnostic.
Draw a grid of pencil lines across the face of the stone, corner to corner and side to side, enough that no part of the surface is unmarked. Then flatten (below) and watch the lines disappear.
- The lines in the middle survive longest means the middle is low, which is the normal dish.
- The lines at the ends survive longest means the ends are low, which happens if you work off the ends of the stone.
- All the lines go at once means the stone is flat and you can stop.
You can also check before flattening by laying a known-straight edge, a steel rule on its edge, across the stone and looking for light underneath.
Flattening the stone
Three tools do this. Any of them works.
A diamond flattening plate. The purpose-built option, coarse diamond on a flat backing. Fastest and most controllable.
A flattening stone, a coarse abrasive block sold for this job, often with grooves to clear slurry.
Wet-and-dry abrasive paper on a genuinely flat surface, such as a thick float glass offcut or a granite surface plate. Cheap and effective, and the flatness of the backing is the whole thing: a warped board makes a warped stone.
The procedure
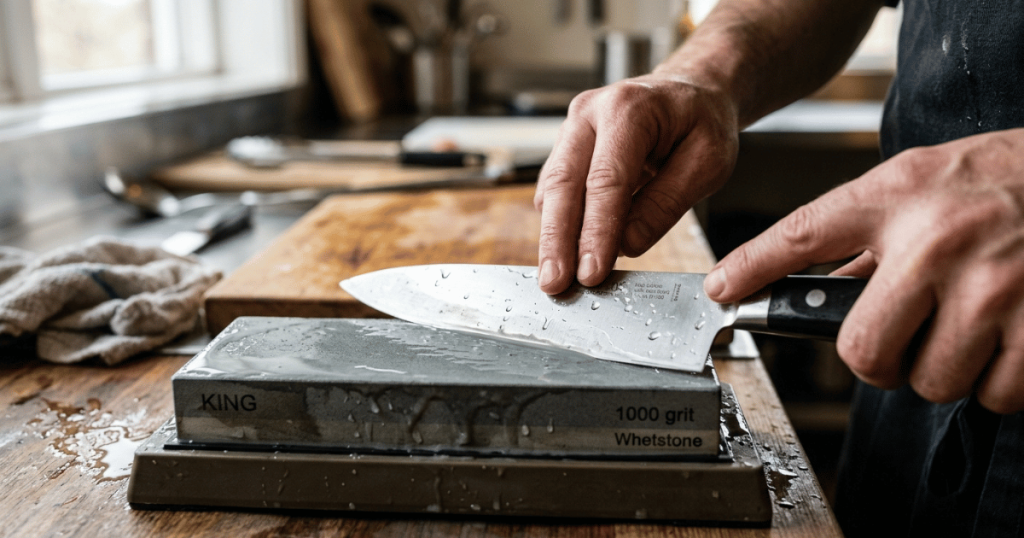
1. Prepare the stone as you would to sharpen. Soak it if it is a soaking stone, wet it if it is splash-and-go. A dry stone flattens badly and makes dust you should not breathe.
2. Mark the pencil grid.
3. Put the flattening tool on the stone, or the stone on the paper, and work with water present. Keep the two surfaces fully overlapped: if you let the flattener hang off the end, you will round the end.
4. Move in a pattern that covers the whole face, and change direction regularly. Circles, then figure eights, then front to back. Working in one direction only transfers your own bias into the stone.
5. Rinse and check the pencil grid. Stop when the last lines go. Do not keep going for luck. Flattening consumes the stone, and a stone has a finite thickness.
6. Round the edges slightly. A freshly flattened stone has sharp corners along its top edges, which can scratch a blade and can chip. A couple of passes with the flattener along each top edge takes them off. This is called chamfering and it is a small step people skip.
How often
The honest answer is more often than you would guess, and the correct trigger is before rather than after.
Flattening before a sharpening session takes a minute and means the session starts on a flat surface. Flattening after you notice a problem means you have already put a bad edge on something.
Softer stones and coarser stones dish faster than hard fine ones, and stones used for heavy reprofiling dish faster than stones used for touch-ups. Rather than tracking that, run the pencil grid at the start of every session. If the lines all go together, you are done in thirty seconds.
The rest of stone maintenance
Glazing. A stone whose surface has become smooth and shiny and stops cutting is glazed, usually with metal particles filling the surface. A few strokes with the flattening tool refreshes it. This is not the same as dishing and it can happen on a perfectly flat stone.
Slurry. The grey paste that forms as you work is part of how many stones cut. Do not rinse it away constantly. Do rinse between grits, so a coarse stone’s swarf does not end up on a fine stone.
Drying and storage. Let stones dry fully before storing, and store them somewhere they will not freeze. A soaked stone that freezes can crack, and a garage in winter is where this happens.
Do not put a whetstone in a dishwasher, and do not use soap on it.
Where you stop
- Keep the stone still while sharpening. A non-slip mat, a stone holder, or a damp towel under it. A stone that slides mid-stroke with a blade on it is the main injury risk in this whole subject.
- Do not flatten a dry stone. The dust is not something to breathe.
- Do not use a stone whose surface has cracked or that has come apart from its base.
- Do not test an edge by running a finger along it. Across, or use paper.
The short version
Find out whether your stone soaks, splashes or takes oil, and follow that stone’s own instructions rather than a general rule. Draw a pencil grid and flatten before every session, with a diamond plate, a flattening stone or abrasive paper on genuinely flat glass, stopping the moment the last lines disappear. Chamfer the top edges, rinse between grits, dry before storing, and keep the stone off a freezing floor. The sharpening walkthrough assumes a flat stone, and the method pillar covers where stones fit against everything else.