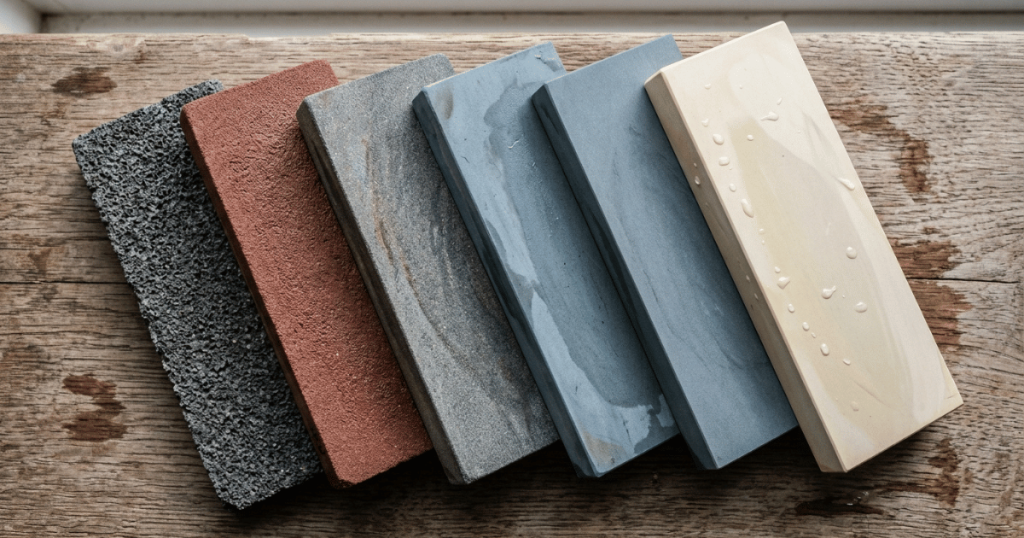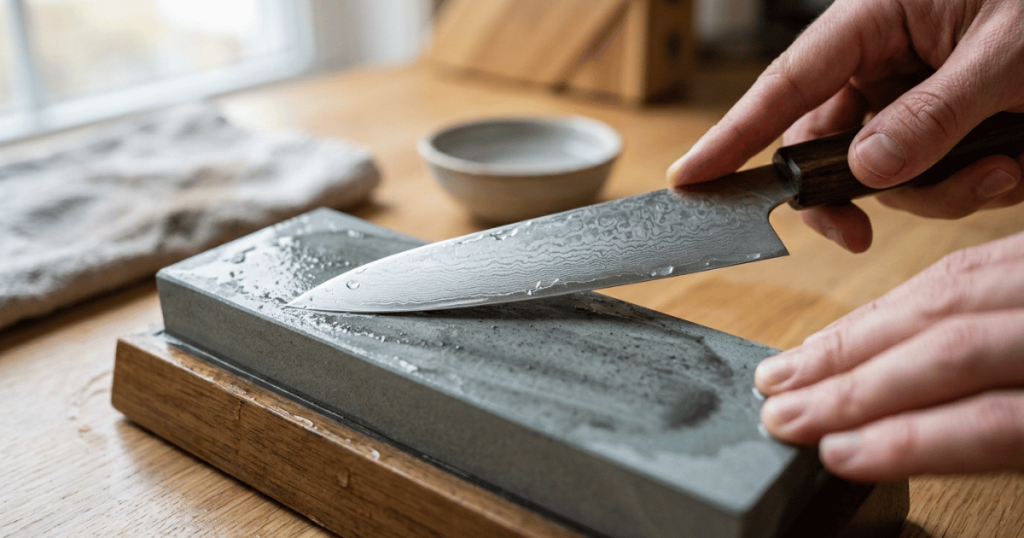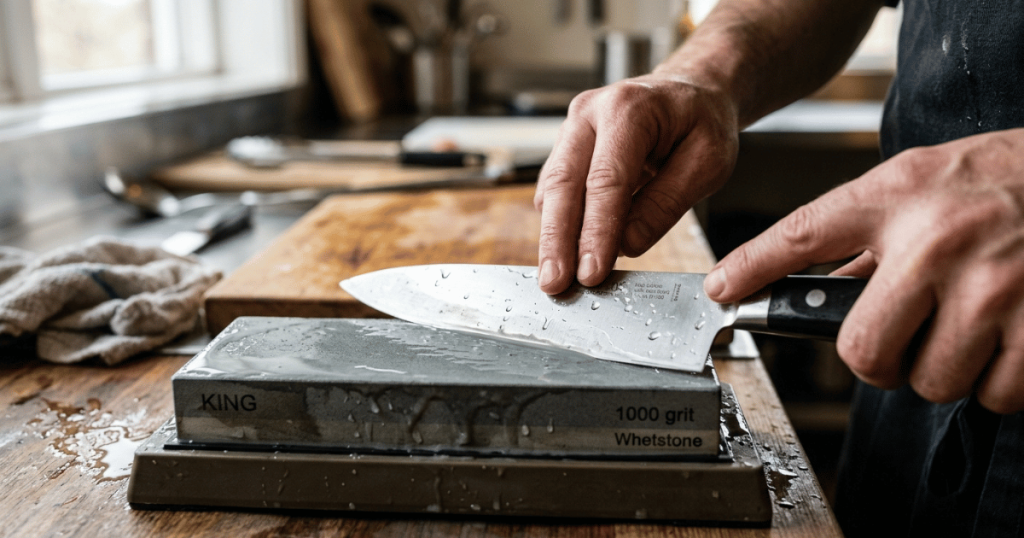
Three things in an ordinary house genuinely abrade steel and can put a working edge back on a dull knife: the unglazed ring on the bottom of a ceramic mug or plate, wet-dry sandpaper laid on something flat, and a smooth flat stone. The rest of the usual list does something else entirely. A leather belt polishes and straightens, so it does nothing for a knife that is truly blunt. Concrete, a metal file, or the edge of a second knife sets you back further than it takes you forward. And whichever surface you pick, nothing has been sharpened until a burr forms.
These are field expedients: a campsite, a rented kitchen, the night before a holiday meal. None of them replaces a stone, and several are a poor idea on a knife you care about. Where that line sits is most of what follows. We do not sell sharpeners, so nothing here is steering you toward a purchase.
Sharpening a knife without a sharpener: abrade, realign, or damage
Most lists of household sharpening tricks present their methods as interchangeable. They are not. Any surface you drag a blade across does one of three things. It abrades, meaning it is harder than your steel, cuts it away and forms a new apex, which is sharpening. It realigns, meaning it pushes a rolled apex back into line and polishes it while removing almost no metal, which is honing or stropping and does nothing whatever for a blunt knife. Or it damages, removing steel with no control over where it goes, rounding the apex over, or chipping it.
| Method | What it actually does | Worth trying when |
|---|---|---|
| Wet-dry sandpaper on a flat, rigid backing | Abrades, with real control | The strongest improvised option, and the only one with a grit progression |
| Unglazed ring on a ceramic mug or plate | Abrades, coarsely and unevenly | The knife is dull, the meal is now, nothing else is in the house |
| Smooth flat stone | Abrades at an unknown rate | Outdoors, with nothing better within reach |
| Emery board or nail file | Abrades on a tiny contact patch | The tip of a paring knife, nothing longer |
| Leather belt, laid flat on a table | Realigns and polishes only | The knife cut well last week and has gone slightly off |
| Cardboard, denim, nylon strap | Realigns very gently | Same case as leather, less effect |
| Spine or back of a second knife | Realigns, roughly and unevenly | Rarely. A honing rod does this properly |
| Edge of a second knife | Damages both blades | Never |
| Concrete, brick, cinder block | Damages: coarse, uncontrolled, rounds the apex | Never on a kitchen knife |
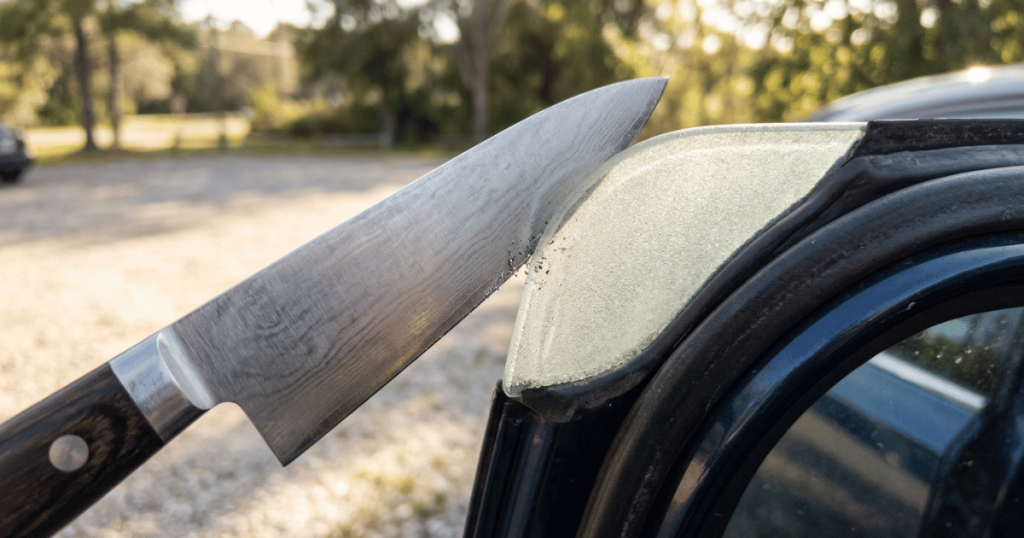
| Car window glass | Unverified. At best it burnishes | Not recommended, for reasons below |
| Broken glass, coarse metal file, bench grinder | Damages | Never |
Set up before you touch the blade
Every method here puts a bare edge in one hand and an improvised abrasive under the other, with none of the guarding a purpose-built sharpener gives you. The setup is the job, not the preamble to it.
- Fix the abrasive so it cannot move. A damp towel or rubber mat under the mug, plate, stone or sandpaper backing. A surface that slides mid-stroke is how the blade ends up somewhere you did not plan.
- Never hold the abrasive in your hand. The mug goes upside down on the counter, not gripped by the handle. The belt lies flat on a table, never wrapped around a hand or worn.
- The blade travels away from your body and away from your other hand on every stroke, including the strokes you take when you are tired of counting.
- Dry hands, dry handle. A wet grip on a sharp edge is the ordinary cause of sharpening injuries, and it is the thing people notice last.
- Never run a finger along an edge to test it. Every check is made across the edge, drawing the thumb away from it. Keep children and pets out of the space, and set the knife down flat with the edge away whenever you stop.
The burr is the only proof any of this worked
This is the step the generic versions of this article leave out, and it is why most people conclude the mug trick is a myth.
When an abrasive reaches the very apex of the edge from one side, it pushes a faint wire of displaced steel out along the other side. That wire is the burr. Its presence means you reached the apex. Its absence means you have been polishing the shoulder of the bevel, the wide part behind the edge, and a knife with a polished shoulder and an untouched apex still will not cut.
How to feel for it safely. Lay the flat of the blade across your fingertips with the edge pointing away. Draw the pad of your thumb off the edge at a right angle, from the side of the blade outward, the way you would wipe a crumb off a table. A burr catches slightly, like the raised lip on a cheaply cut piece of plastic. You are always moving away from the edge, never along it.
What is different about improvised abrasives. A mug ring is a curved contact patch a few millimeters wide, and a sandpaper sheet cuts unevenly if the backing is not flat, so the burr does not arrive along the whole edge at once. Check three places: near the heel, the middle, and an inch back from the tip, then keep working the sections that have none. A burr only at the heel means you have been favoring the part of the blade nearest your hand, which nearly everyone does.
Once the burr runs the full length, work the other side until it flips over, then take it off with light alternating passes at half the pressure on the finest surface available: the fine side of the sandpaper, plain leather, or the back of a cereal box. A burr left in place tears off in the first onion and takes your new edge with it. If ten minutes of work produces no burr anywhere, stop. Either you are holding the blade too steeply, which rounds the apex, or the surface is not abrasive enough to cut your steel. Carrying on makes the knife worse.
The mug bottom, done with the care it needs
Turn a mug or plate over and you will find a ring of unglazed ceramic where the piece sat in the kiln. It is coarse and it does cut steel: the proof shows up within a few passes as gray metal smeared on the white ceramic. Red Label Abrasives, an abrasives manufacturer, lists this method with the surface given as the unglazed rough ceramic bottom, an angle in the region of 20 degrees, and the caution that excessive force can damage the knife or make it slip. Read that last part as the main event.
Set the mug upside down on a damp cloth. Match the angle the bevel already has rather than any number you read, because regrinding an angle by hand on a mug ring does not end well. Push the blade along the ring with the edge leading, away from you, heel to tip so the whole edge gets time on the ceramic. Count your strokes, give the other side the same count, then check for the burr.
What a mug will not give you is a refined edge. The ring is coarse, its grit is unknown, and it takes more steel than the knife needs. It gets you through dinner. A stone afterward brings the bevel back to the angle the maker ground and refines it to a finish no mug ring reaches.
Sandpaper is the best improvised abrasive in the house
Wet-dry sandpaper behaves like real sharpening equipment because it is real sharpening equipment sold for another purpose. The abrasives coated onto it, aluminum oxide and silicon carbide, are harder than hardened knife steel, which is why they cut it instead of sliding over it. Red Label Abrasives describes the method as silicon carbide sheets attached to a flat surface, and lists 220 and 400 as the coarse grits with 1000 and 2000 as the fine ones.
Tape the sheet down tight and wrinkle-free on the flattest rigid thing you have: a glass cutting board, a granite offcut, a thick book inside a plastic bag. A wrinkle in the paper becomes a rounded apex.
The stroke goes the opposite way from a whetstone stroke, and the folk lists never mention it. On paper you move the blade spine first, edge trailing, because an edge-leading stroke digs in and shreds the sheet. That is a fact about paper rather than about metallurgy, and it is why sandpaper feels wrong to anyone who learned on a stone. Light pressure, one angle, equal counts per side, check for the burr, then move up a grit.
What a leather belt actually does
The belt is the most misrepresented item on the list, because stropping looks like sharpening and is not. Work Sharp, which manufactures sharpeners and sells leather strops, describes its strop as a way to eliminate microscopic burrs and polish blades between sharpening sessions, and says it does this while removing minimal material. BLADE Magazine’s account is the same picture from the other side: the leather bends the burr back and forth until it breaks free.
The honest conclusion follows from both. Plain leather with no compound on it takes almost no steel off. If your knife sliced paper a week ago and now feels tired, a strop may bring it back, because the problem is a rolled apex rather than a missing one. If it cannot start the skin of a tomato, leather will not help however long you work at it. You need an abrasive first.
When you do strop, lay the belt flat on a table, rough side up, and move the blade spine first. Edge-leading cuts the belt, and a belt held in the hand puts the edge on a path toward your fingers.
The methods that cost more edge than they give
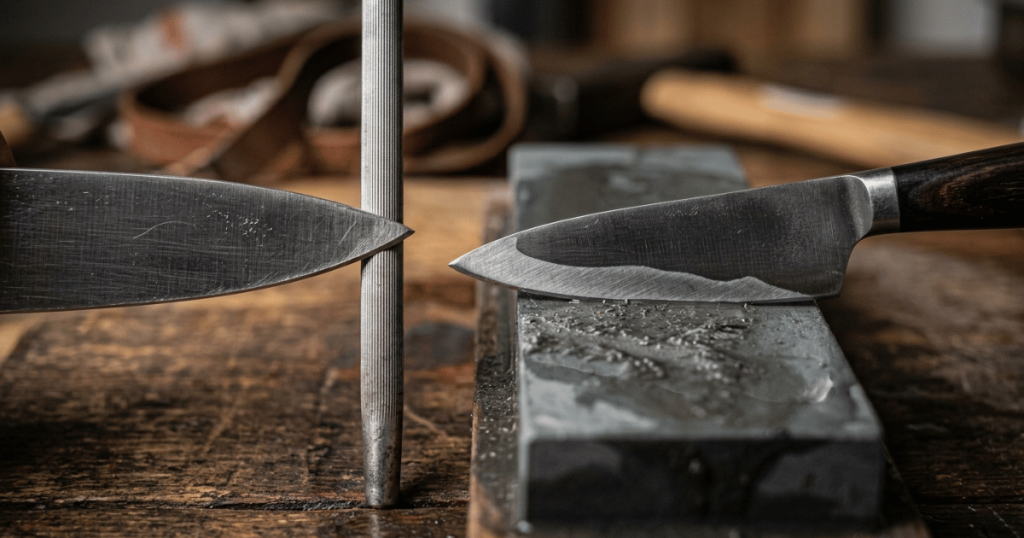
The edge of a second knife. Two hardened edges scraped together do not sharpen each other. They deform and chip each other in a pattern nobody controls, and you finish with two damaged knives instead of one dull one. What people half-remember here is the honing rod, which is much harder than the blade and used at a controlled angle. The back of a second knife is a poor imitation of that. Its edge is not an imitation of anything.
Concrete, brick, and paving stone. Coarse, and full of loose grit that embeds in the steel. They remove metal fast in a shape you do not choose, rounding the apex while gouging the bevel. That is a fair way to reshape a beaten garden tool and no way to treat a kitchen knife.
The car window. Repeated everywhere, and we could not find a manufacturer, an abrasives supplier or a testing body documenting that automotive glass removes steel in a controlled way. What it can do is burnish, which is realigning, not sharpening. Against that, the exposed edge of a rolled-down window is a rounded bead you cannot hold a repeatable angle against, and the guidance that does cover the method is reduced to telling you to keep the edge moving away from the vehicle so you do not slice the weather stripping. A belt on a flat table does the same job with less risk.
Broken glass and coarse files. Broken glass turns a sharpening job into a laceration risk for no gain. A metal file’s teeth are cut for softer metals, so on a hardened blade it either skates or leaves a coarse saw edge that feels sharp for one cut.
When to stop and hand it to someone who sharpens
These methods have a narrow range, and staying inside it is the difference between a knife that survives and one that needs a professional regrind.
- A visible chip, a bent blade, or a broken tip. Repair work, not sharpening. No household abrasive fixes it without removing far more steel than the damage did.
- A hard Japanese blade. Thin, hard edges chip rather than deform, and a coarse uncontrolled abrasive is exactly what chips them. Wait for the stone.
- A ceramic blade. Nothing in a normal kitchen is hard enough to touch it, and a coarse surface breaks pieces out of the edge.
- A serrated knife. No flat surface reaches inside the scallops where it does its cutting. A mug ring flattens the tooth tips and leaves the working edges untouched.
- A knife you paid real money for. A professional regrind costs less in steel than a week of mug-ring passes, and a sharpener can restore a bevel you cannot fix by hand.
The place to land is this: know one improvised method well enough to rescue a dinner, use it for that, and put the knife on a stone or in a sharpener’s hands afterward. A field expedient is a bridge to real sharpening, not a substitute for it.
Frequently asked questions
Does the coffee mug trick really work?
Yes, within limits. The unglazed ring on the base is genuinely abrasive and will raise a working edge on a dull knife. It is coarse, its grit is unknown, and it takes more steel than the knife needs, so it belongs in the emergency category rather than the routine one. If no burr forms after a few minutes of careful passes, your angle is too steep and you are rounding the edge over.
Can I sharpen a knife with a leather belt?
Not sharpen, no. Plain leather realigns a rolled apex and polishes it while removing very little metal, which is why Work Sharp describes its own strop as something used between sharpening sessions. A belt can revive a knife that recently went slightly off. It will not restore a blunt one.
Will a car window sharpen a knife?
We found no manufacturer or abrasives source documenting that it does. The action is more likely burnishing than cutting, the rounded top edge of the glass gives no repeatable angle, and the working position is awkward. A leather belt on a flat table does the same realigning job with far less risk.
How do I know whether it worked?
Feel for the burr as you go, checking near the heel, in the middle and near the tip by drawing your thumb away from the edge, never along it. Once the burr is off, slice down through a sheet of printer paper held by one corner, then set the blade on a tomato skin and draw it back with no downward pressure. A sharp knife enters on the first pull.
Is sandpaper as good as a whetstone?
For one sharpening on a soft-to-medium stainless kitchen knife, taped flat to something rigid and worked through a grit progression, it is close enough to be useful. It is worse at everything involving repetition: the sheet wears out, its flatness depends entirely on what you taped it to, and the stroke direction is dictated by the paper rather than by the edge.