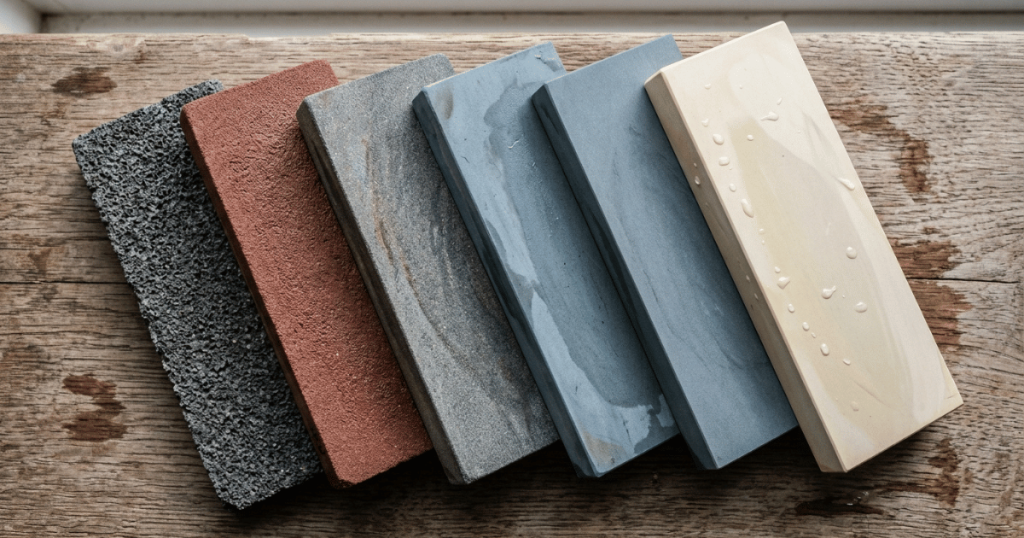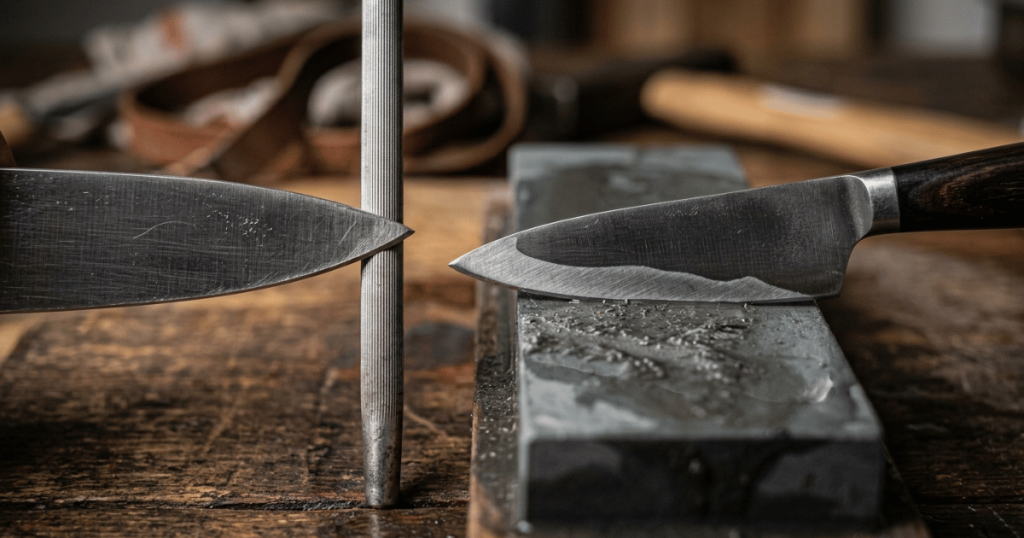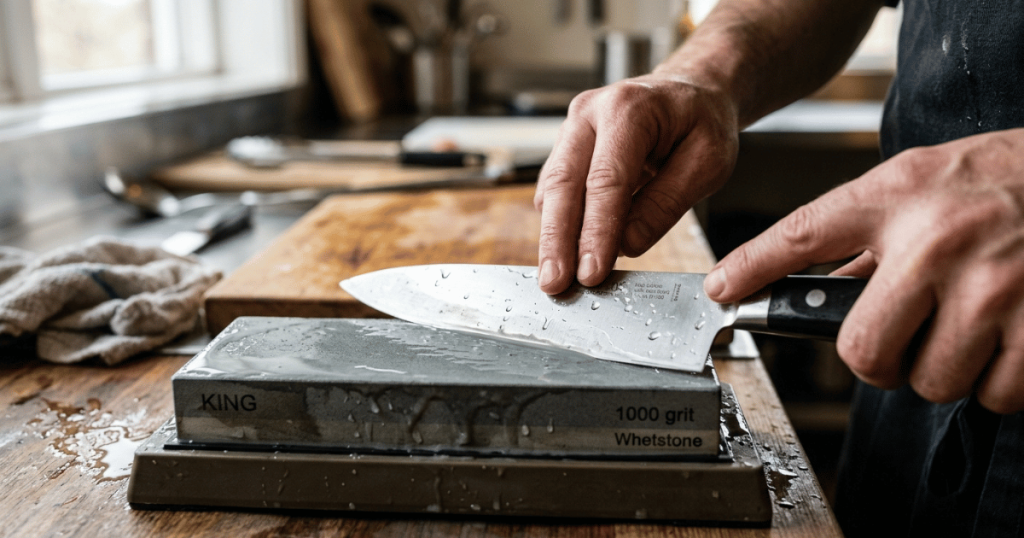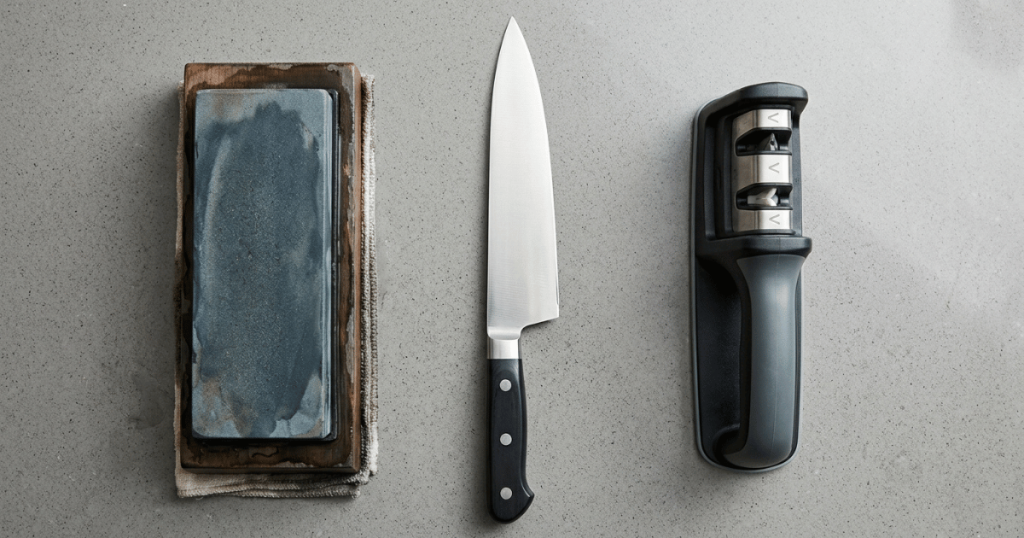
Wet the stone the way its maker directs, set it on something that cannot slide, and find the angle the bevel already has. Work one side of the edge on the medium stone, heel to tip, until you can feel a burr along its whole length. Flip and repeat until the burr moves over. Then the fine side, lighter and alternating, until the burr is nearly gone. Strop it off and test on paper. The burr is the checkpoint at every stage, and skipping it is why most first attempts fail.
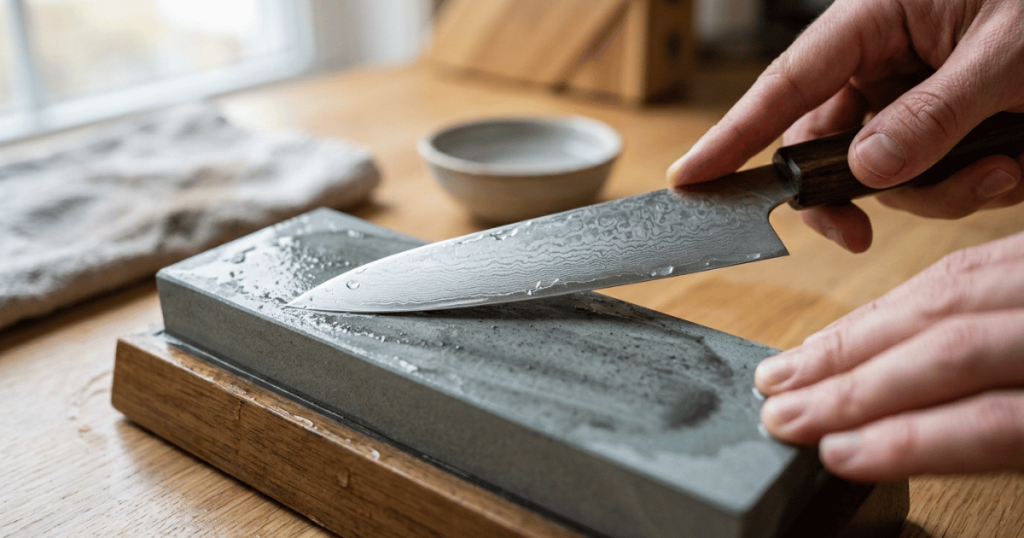
Before you touch the stone
Inspect the edge first, and know where to stop. Hold the knife under a light with the edge pointing up at you and look down its length. A dull edge reflects a thin bright line where the apex should be nothing at all. That is a sharpening job. A visible chip, a bent or warped blade, a broken tip, or a blade that has been ground so badly it has lost its shape are not sharpening jobs, and the method below will not fix them. Those are repair work, and doing them freehand on a stone usually removes more steel than the damage did. Price a professional regrind before you start.
Prepare the stone as its own maker says, not as the internet says. The instructions genuinely differ between products. Shun’s own combination stone says “soak stone in water before using; use stone with water only.” Global’s care guidance calls for soaking “approximately 10-15 minutes.” Zwilling’s says “before using, immerse the stone in water for about five minutes.” Splash-and-go stones want nothing more than a wet surface, and soaking some of them can damage the bond that holds the abrasive together. Read the box. If there is no box, soak until the stream of bubbles stops.
Anchor the stone so it cannot travel. Most stones come with a rubber cradle or a base. If yours did not, set it on a damp folded towel over a non-slip mat, on a counter at a height where your forearms are relaxed. A stone that slides while you are pushing a sharp blade across it is the most common way people get hurt at this, so do not start until it is genuinely locked in place. Test it with a shove before the knife comes out.
Then set up the rest: a second towel for wiping, water to keep the surface wet, good light so you can see the bevel, and dry hands. Wet hands slip on a knife handle, so wipe them between stages rather than working with a slick grip.
Find the angle you already have
You are not choosing an angle. You are matching the one the factory ground, because grinding a new one means removing a great deal more steel.
The published figures are useful mainly for telling you what to expect. Wüsthof’s FAQ states that its sharpening angle “for standard blades is 14˚ per side” and “for Asian-style blades (Santokus, Nakiris) is 10˚ per side.” Zwilling’s care page says to place the blade on the stone “at an angle of 10 – 20°,” and that “Santoku knives and all MIYABI and Kramer made by ZWILLING knives should be 9-12°.” Global tells owners to “hold the knife so that the blade meets the stone at a 10-15 degree angle.” Shun states that its knives “are sharpened to a 16° angle on each side of the blade.”
Those are all per side, and they do not agree with each other. Zwilling’s own magazine article on sharpening angles quotes different numbers again, putting European chef’s knives around 14 degrees, Japanese chef’s knives at 15 and santokus at 17.5. When one maker’s two pages disagree, a number on a page is clearly not a target to hit blindly. The bevel in your hand is the real specification.
The marker trick. Color the whole bevel with a permanent marker, take three or four light strokes, and look at what came off. Ink gone at the very edge and still present up near the shoulder means your angle is too low. Ink gone at the shoulder and still on the edge means it is too high. Ink gone evenly across the bevel means you have found it. Redo this whenever you feel lost, and always do it first on a knife you have never sharpened before.
Step 1: the medium stone, one side, until a burr forms
Lay the blade on the stone near the heel, at the angle you just found, with your guide hand’s fingertips pressing down on the flat of the blade well above the edge, never near it.
Push the blade along the stone with the edge moving away from your body, keeping the pressure light and even. Think of shaving a thin layer off the surface of the stone rather than of scraping something off the knife. A kitchen knife has three zones and a straight push only sharpens one of them: work the heel section first, then slide your contact point forward for the belly, lifting the handle slightly as you go so the curve stays in contact, then finish at the tip with the handle raised more than feels natural. Most people who complain that everything is sharp except the tip never lifted the handle.
Keep the surface wet. If your stone throws off a gray slurry, leave it there. Global’s guidance is explicit: “during sharpening a certain amount of wet powder will appear, but do not wash or wipe this residue and continue sharpening.” That slurry is doing work.
Done when: you can feel a burr along the entire length of the far side of the edge, from heel to tip. A burr is a hair-thin wire of displaced steel folded over to the opposite side, and it feels like a tiny catching ridge, the way the edge of a torn fingernail catches. Feel for it by drawing your thumb from the spine of the blade outward, across the edge and off it. Never run a finger along the edge to find it, in either direction: that is how you get a deep cut on a knife that is now genuinely sharp. No burr at the tip means you are not finished at the tip, however sharp the middle feels.
Step 2: flip, and drive the burr back
Turn the knife over and repeat the same process on the other side: same angle, same three zones, same light pressure, edge still moving away from you.
Done when: the burr has moved to the side you started from. You are not creating a second burr so much as pushing the existing one across the apex. When you can feel it on the first side and not on the second, the two bevels have met, and that is the definition of a sharp edge.
Step 3: the fine stone, alternating and light
Rinse the blade and your hands so no coarse grit rides onto the fine surface, then switch to the finishing side of the stone.
This stage is not about removing metal. Use noticeably less pressure and alternate sides every stroke or two rather than working one side to completion. The burr gets progressively smaller and more fragile as you go.
Done when: the burr is barely detectable and feels the same on both sides. If your knife is Western stainless, stopping at the medium stone is a legitimate finish, because the polish will not last on softer steel anyway. Which grit to stop at, and why the number on the box is not a universal scale, is covered in our explainer on whetstone grit.
Step 4: get the burr off
An edge with a burr still attached feels ferociously sharp in your hand and then goes dull in ten minutes, because that wire of steel folds over and breaks off during the first few cuts. Removing it is not optional.
Two ways that work. On the fine stone, take a handful of very light alternating strokes with the edge trailing rather than leading, meaning you pull the blade so the spine goes first. Or strop: draw the blade backward, spine first, along leather or a folded sheet of newspaper, a dozen light passes per side. Stropping always moves spine first and away from you, because an edge-leading stroke on a soft surface digs in and can pull the blade toward your hand.
Done when: you cannot feel any catch on either side, and the edge feels smooth and slightly grabby against a thumbnail rather than sliding off it.
Step 5: test, then clean up
Hold a sheet of printer paper by one corner and slice down through it. A sharp edge takes the paper cleanly along its whole length. If it tears at one section, that section needs more work, and it is usually the tip. The tomato test is the honest one for a kitchen: set the blade on the skin and draw it back with no downward pressure at all. A sharp knife enters on the first pull.
Then wash and dry the knife immediately, rinse the stone, and let it dry fully before storing. Check the stone for flatness every few sessions. Stones wear in the middle, and a dished stone quietly rounds the edge you are trying to make no matter how good your technique is.
When it did not work: five causes and the fix
| Symptom | Most likely cause | Fix |
|---|---|---|
| Not sharp at all after a long session | You never reached the apex, so you polished the shoulder of the bevel | Go back to the medium stone and do not leave it until you feel a burr along the full length |
| Sharp on the stone, dull after a few cuts | The burr was still attached and broke off | Deburr properly with light edge-trailing strokes or a strop |
| Sharp in the middle, dull at the tip | The handle stayed flat, so the curve and tip never touched the stone | Lift the handle progressively as you move forward through the belly to the tip |
| Scratches high up on the blade face | Angle drifting upward, or too much pressure | Reset with the marker trick and lighten up. Pressure is not what sharpens |
| Edge is uneven, or the blade will not sit flat | The stone is dished | Flatten the stone before the next session |
What changes on a Japanese or single-bevel knife
The procedure above assumes a double-bevel knife with reasonably forgiving steel, which describes most Western chef’s knives and most Japanese gyutos and santokus. Harder Japanese steel wants lighter pressure and a stricter angle, because it chips where softer steel would simply bend. A single-bevel knife such as a yanagiba or deba is a different job entirely: it is ground on one face with a hollow on the back, and both surfaces have to be maintained on their own terms. Do not treat either as this method with more care. Each has its own article on this site.
For the wider question of which sharpening method is safe on which knife, including the edges a flat stone should never touch, start with our guide to sharpening kitchen knives without ruining them.
Frequently asked questions
How many strokes should it take?
There is no useful number, which is why this article does not give one. It depends on how dull the knife is, how hard the steel is, how coarse the stone is and how much pressure you use. The burr is the count. Work until it forms, then stop.
How much pressure?
Less than you think. Enough to keep the bevel in solid contact and no more. Heavy pressure flexes thin blades, digs into the stone unevenly and makes the angle harder to hold. It does not speed things up as much as it costs you in control.
Do I sharpen both sides equally?
On a double-bevel knife, roughly yes. The first side often takes longer, because that is where the apex gets formed. After that, matching strokes side for side keeps the edge centered. Single-bevel knives are the exception and follow different rules.
Can I use the stone dry?
Not a water stone. The water carries away swarf and keeps the surface cutting; run it dry and it glazes over and stops working. Oil stones use oil for the same reason. Diamond plates will cut dry but last longer and load up less with a little water.
My knife is sharp but the bevel looks scratched. Did I ruin it?
No. Scratches on the bevel are the normal record of a coarse stone, and they disappear as you work up through finer grits. Scratches high on the flat of the blade are a different matter and mean your angle was drifting up.